Manage two-factor authentication
This topic describes how to enable and disable Replicated two-factor authentication for individual and team accounts in the Replicated Vendor Portal.
Alternatively, you can use Google Authentication or SAML Authentication to access the Vendor Portal. For more information about those options, see Managing Google Authentication and Managing SAML Authentication.
About two-factor authentication
Two-factor authentication (2FA) provides additional security by requiring two methods of authentication to access resources and data. When you enable the 2FA option in the Vendor Portal, you must provide an authentication code and your password during authentication. Replicated uses the Time-based One-time Password (TOTP) algorithm, which the Internet Engineering Task Force (IETF) specifies in RFC 6238.
Limitation
If you configure SAML Authentication or Google Authentication and also enable 2FA, Replicated bypasses 2FA. You can leave 2FA enabled, but you are not prompted to enter a code when logging in.
Enable 2FA on individual accounts
If you are an administrator or if your team requires 2FA, you can enable 2FA on your individual account.
To enable two-factor authentication on your individual account:
-
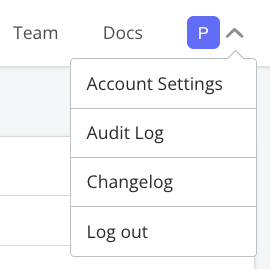
In the Vendor Portal, click Account Settings from the dropdown menu.
-
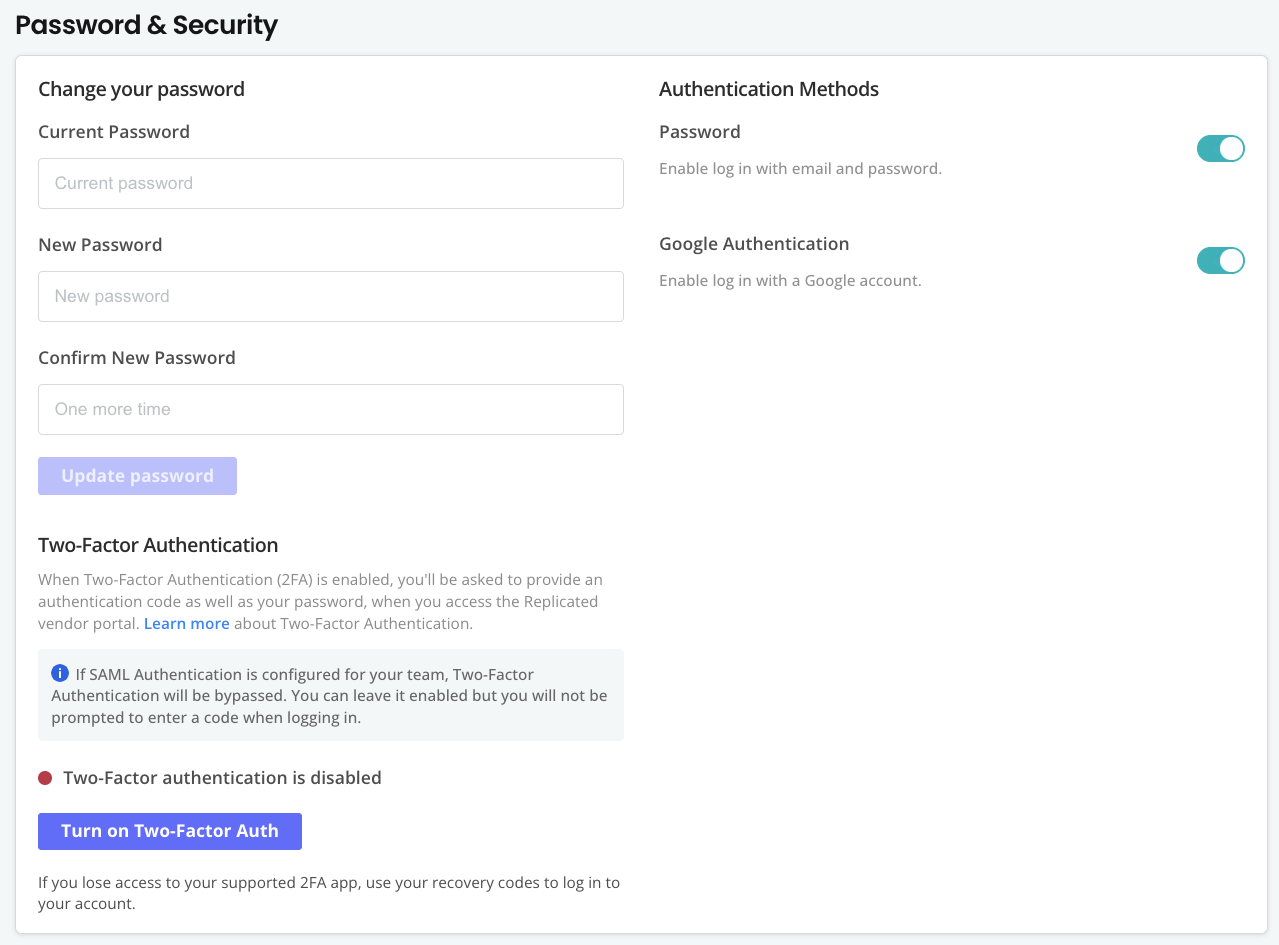
In the Two-Factor Authentication pane, click Turn on two-factor authentication.
-
In the Confirm password dialog, enter your Vendor Portal account password. Click Confirm password.
-
Scan the QR code that displays using a supported two-factor authentication application on your mobile device, such as Google Authenticator. Alternatively, click Use this text code in the Vendor Portal to generate an alphanumeric code that you enter in the mobile application.
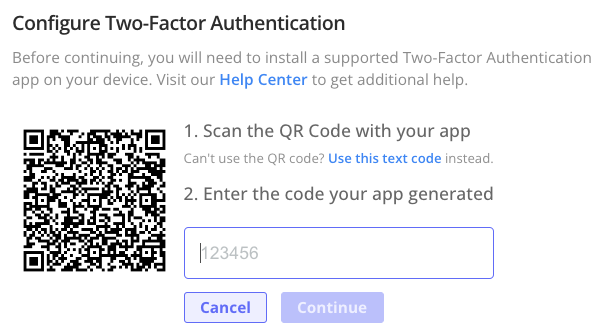
View a larger version of this image
Your mobile application displays an authentication code.
-
Enter the authentication code in the Vendor Portal.
Replicated enables two-factor authentication and displays a list of recovery codes at the bottom of the Two-Factor Authentication pane.
-
Save the recovery codes in a secure location. You can use these codes any time (one time per code) if you lose your mobile device.
-
Log out of your account, then log back in to confirm that 2FA works. The Vendor Portal prompts you to enter a one-time code from the application on your mobile device.
Disable 2FA on individual accounts
To disable two-factor authentication on your individual account:
-
In the Vendor Portal, click Account Settings from the dropdown menu.
-
In the Two-Factor Authentication pane, click Turn off two-factor authentication.
-
In the Confirm password dialog, enter your Vendor Portal account password. Click Confirm password.
Enable or disable 2FA for a team
As an administrator, you can enable and disable 2FA for teams. You must first enable 2FA on your individual account before you can enable 2FA for teams. After you enable 2FA for your team, team members can enable 2FA on their individual accounts.
To enable or disable 2FA for a team:
-
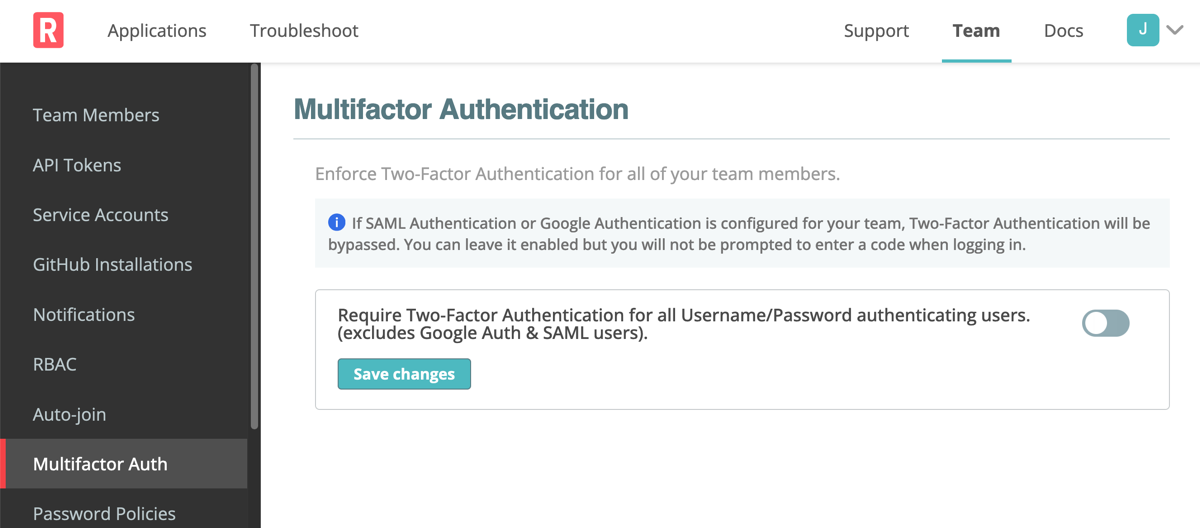
In the Vendor Portal, select the Team tab, then select Multifactor Auth.
-
On the Multifactor Authentication page, do one of the following with the Require Two-Factor Authentication for all Username/Password authenticating users toggle:
- Turn on the toggle to enable 2FA
- Turn off the toggle to disable 2FA
-
Click Save changes.