Create a kURL Installer
This topic describes how to create a kURL installer spec in the Replicated Vendor Portal to support installations with Replicated kURL.
For information about creating kURL installers with the Replicated CLI, see installer create.
Replicated kURL is available only for existing customers. If you are not an existing kURL user, use Replicated Embedded Cluster instead. For more information, see Use Embedded Cluster.
kURL is a Generally Available (GA) product for existing customers. For more information about the Replicated product lifecycle phases, see Support Lifecycle Policy.
Overview
To provision a cluster on a VM or bare metal server, kURL uses a spec that is defined in a manifest file with apiVersion: cluster.kurl.sh/v1beta1 and kind: Installer. This spec (called a kURL installer) lists the kURL add-ons that will be included in the cluster. kURL provides add-ons for networking, storage, ingress, and more. kURL also provides a KOTS add-on, which installs KOTS in the cluster and deploys the KOTS Admin Console. You can customize the kURL installer according to your application requirements.
For more information about kURL, see Introduction to kURL.
Create an Installer
To distribute a kURL installer alongside your application, you can promote the installer to a channel or include the installer as a manifest file within a given release:
| Method | Description |
|---|---|
| Promote the installer to a channel | The installer is promoted to one or more channels. All releases on the channel use the kURL installer that is currently promoted to that channel. There can be only one active kURL installer on each channel at a time. The benefit of promoting an installer to one or more channels is that you can create a single installer without needing to add a separate installer for each release. However, because all the releases on the channel will use the same installer, problems can occur if all releases are not tested with the given installer. |
| Include the installer in a release (Beta) | The installer is included as a manifest file in a release. This makes it easier to test the installer and release together. It also makes it easier to know which installer spec customers are using based on the application version that they have installed. |
Promote the Installer to a channel
To promote a kURL installer to a channel:
-
In the Vendor Portal, click kURL Installers.
-
On the kURL Installers page, click Create kURL installer.

-
Edit the file to customize the installer. For guidance on which add-ons to choose, see Requirements and Recommendations below.
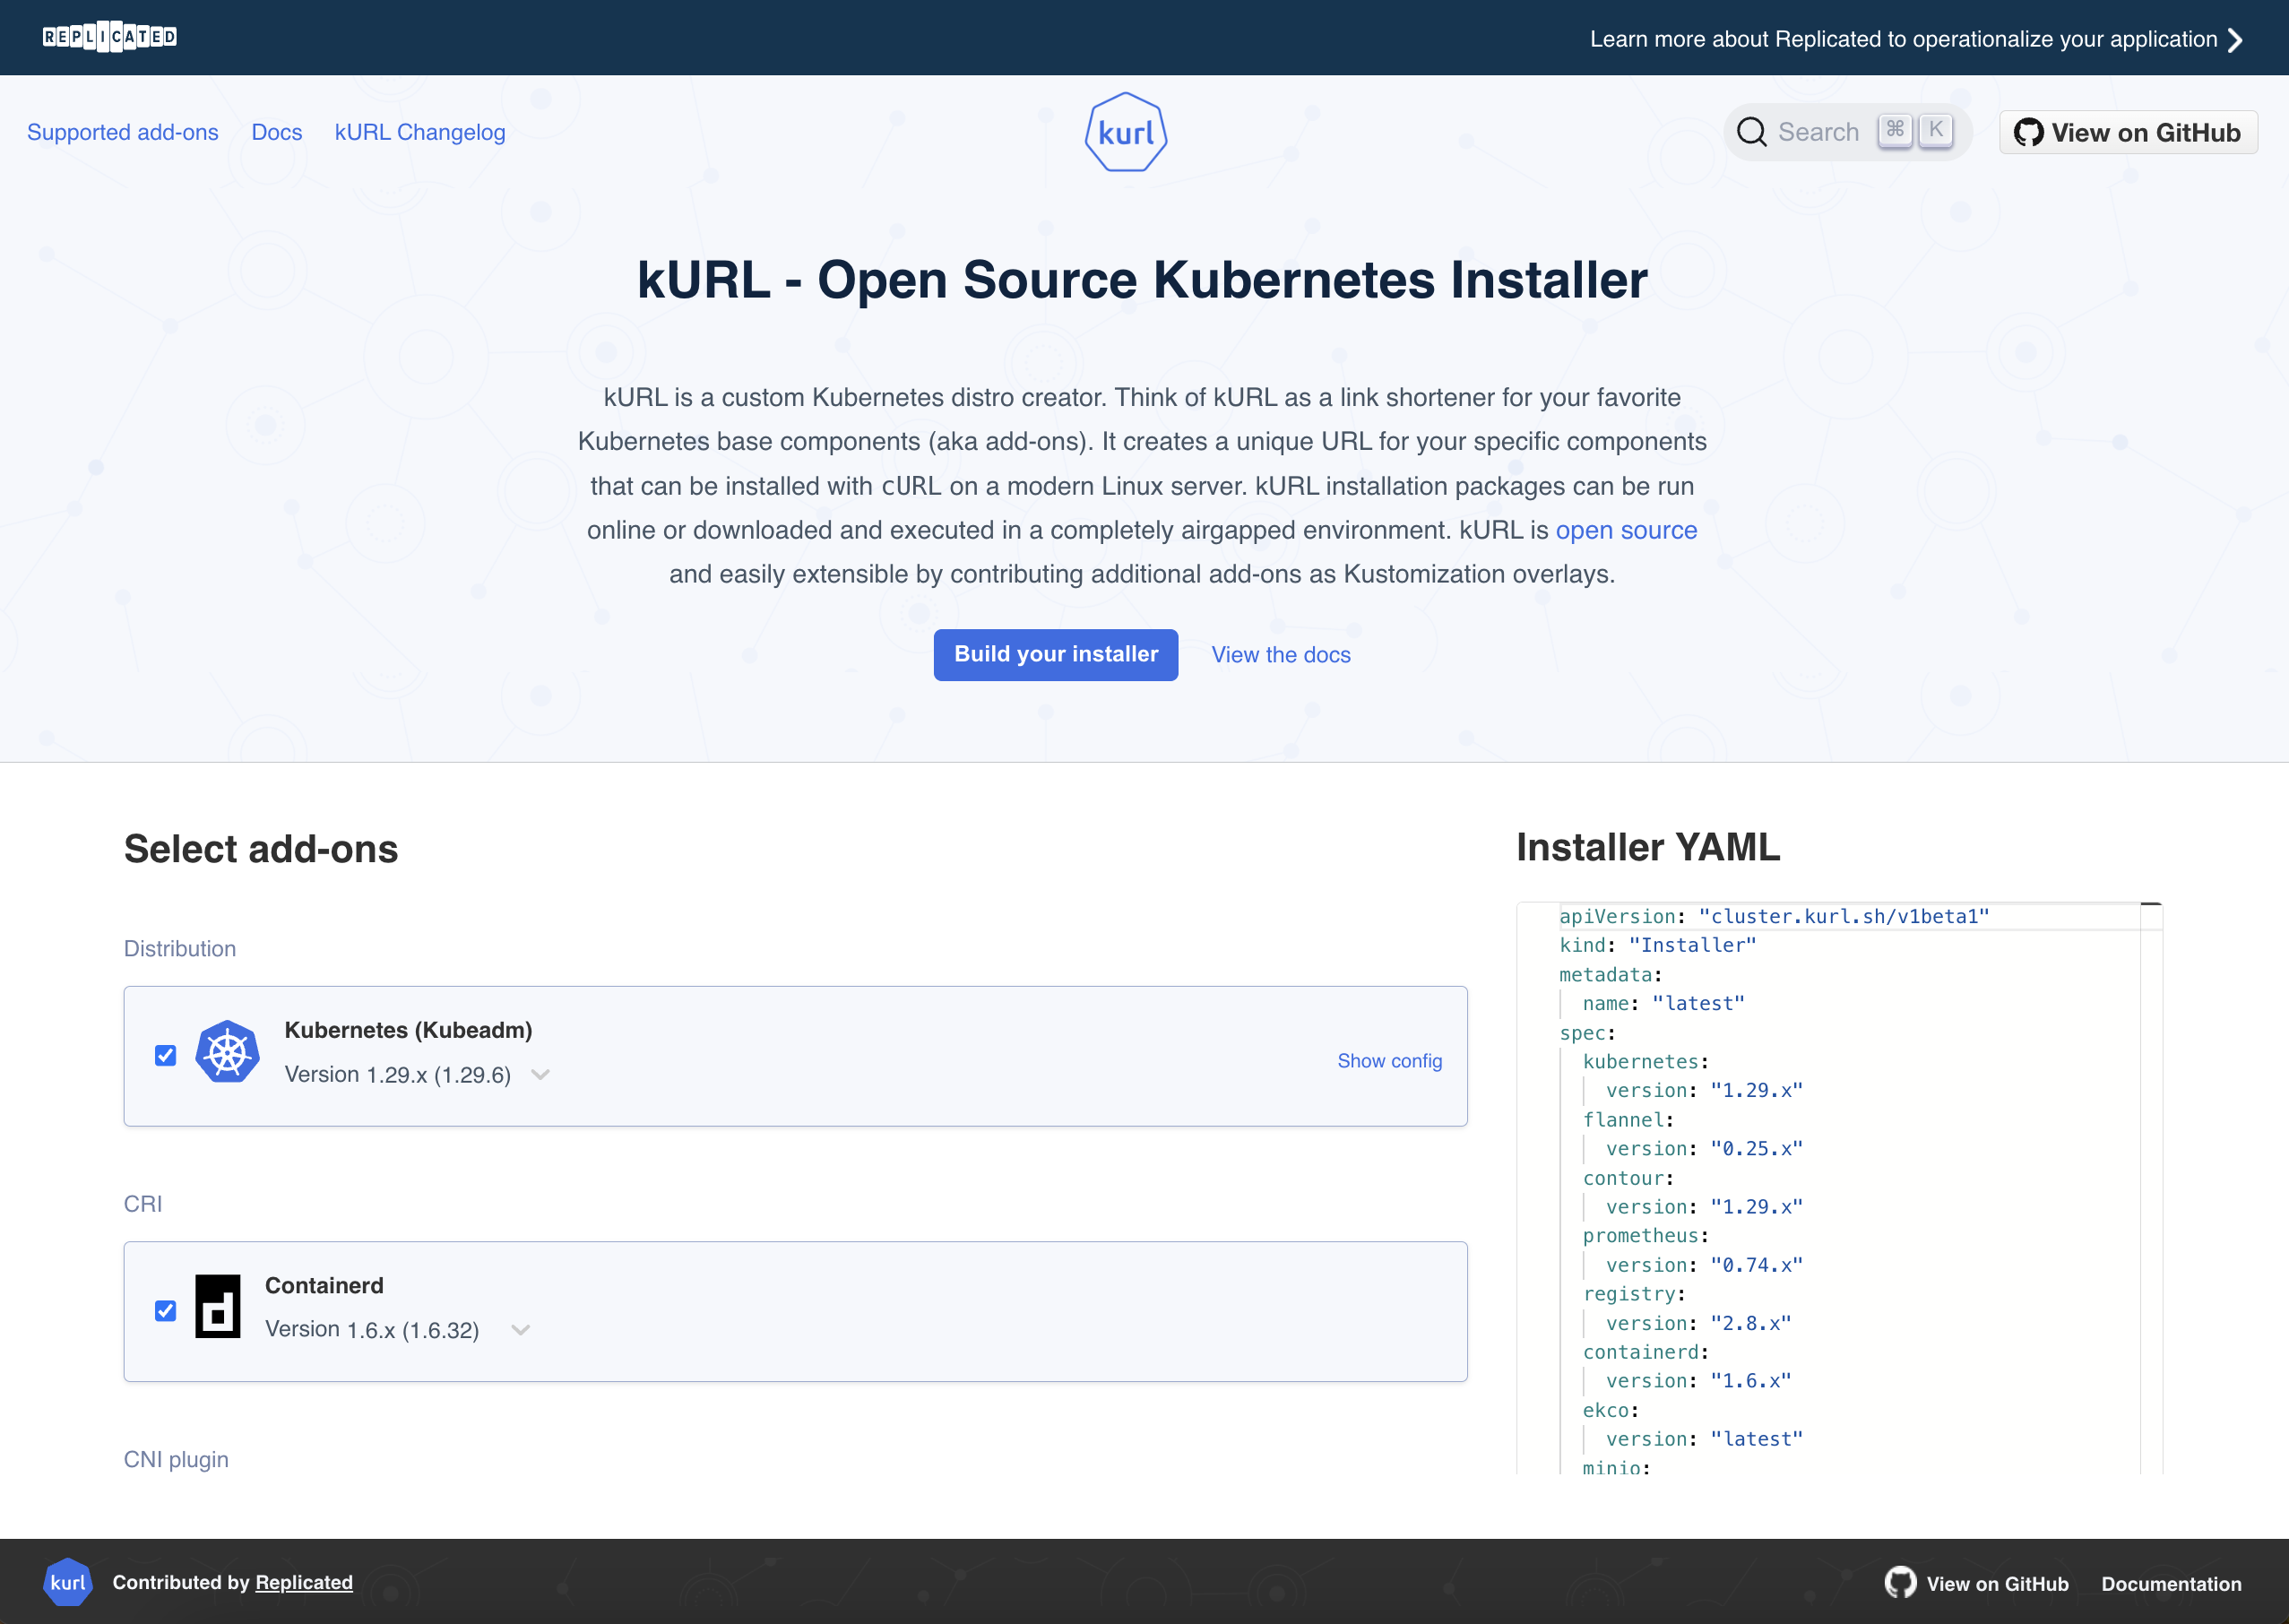
You can also go to the landing page at kurl.sh to build an installer then copy the provided YAML:
-
Click Save installer. You can continue to edit your file until it is promoted.
-
Click Promote. In the Promote Installer dialog that opens, edit the fields:
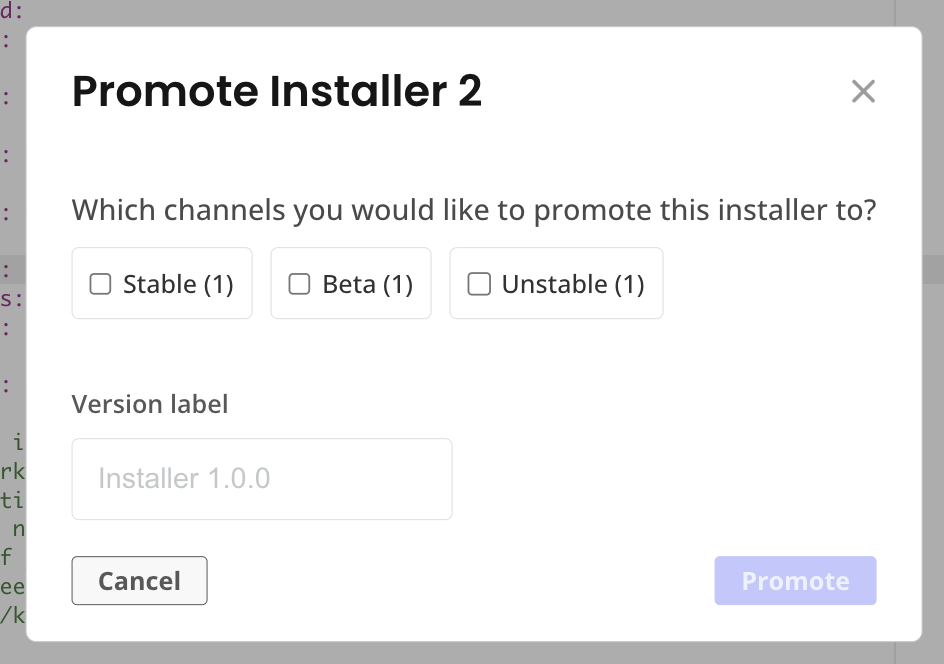
View a larger version of this image
Field Description Channel Select the channel or channels where you want to promote the installer. Version label Enter a version label for the installer. -
Click Promote again. The installer appears on the kURL Installers page.
To make changes after promoting, create and promote a new installer.
Include an Installer in a release (Beta)
To include the kURL installer in a release:
-
In the Vendor Portal, click Releases. Then, either click Create Release to create a new release, or click Edit YAML to edit an existing release.
The YAML editor opens.
-
Create a new file in the release with
apiVersion: cluster.kurl.sh/v1beta1andkind: Installer:apiVersion: cluster.kurl.sh/v1beta1kind: Installermetadata:name: "latest"spec: -
Edit the file to customize the installer. For guidance on which add-ons to choose, see kURL Add-on Requirements and Recommendations below.
You can also go to the landing page at kurl.sh to build an installer then copy the provided YAML:
-
Click Save. This saves a draft that you can continue to edit until you promote it.
-
Click Promote.
To make changes after promoting, create a new release.
kURL add-on requirements and recommendations
KURL includes several add-ons for networking, storage, ingress, and more. The add-ons that you choose depend on the requirements for KOTS and the unique requirements for your application. For more information about each add-on, see the open source kURL documentation.
When creating a kURL installer, consider the following requirements and guidelines for kURL add-ons:
-
You must include the KOTS add-on to support installation with KOTS and provision the KOTS Admin Console. See KOTS add-on in the kURL documentation.
-
To support the use of KOTS snapshots, Velero must be installed in the cluster. Replicated recommends that you include the Velero add-on in your kURL installer so that your customers do not have to manually install Velero.
noteDuring installation, the Velero add-on automatically deploys internal storage for backups. The Velero add-on requires the MinIO or Rook add-on to deploy this internal storage. If you include the Velero add-on without either the MinIO add-on or the Rook add-on, installation fails with the following error message:
Only Rook and Longhorn are supported for Velero Internal backup storage. -
You must select storage add-ons based on the KOTS requirements and the unique requirements for your application. For more information, see About Selecting Storage Add-ons.
-
kURL installers that are included in releases must pin specific add-on versions and cannot pin
latestversions or x-ranges (such as 1.2.x). Pinning specific versions ensures the most testable and reproducible installations. For example, pinKubernetes 1.23.0in your manifest to ensure that version 1.23.0 of Kubernetes is installed. For more information about pinning Kubernetes versions, see Versions and Versioned Releases in the kURL open source documentation.noteFor kURL installers that are not included in a release, pinning specific versions of Kubernetes and Kubernetes add-ons in the kURL installer manifest is not required, though is highly recommended.
-
After you configure a kURL installer, Replicated recommends that you customize host preflight checks to support the installation experience with kURL. Host preflight checks help ensure successful installation and the ongoing health of the cluster. For more information about customizing host preflight checks, see Customize Host Preflight Checks for Kubernetes Installers.
-
For installers included in a release, Replicated recommends that you define a preflight check in the release to ensure that the target kURL installer is deployed before the release is installed. For more information about how to define preflight checks, see Define Preflight Checks.
For example, the following preflight check uses the
yamlCompareanalyzer with thekots.io/installer: "true"annotation to compare the target kURL installer that is included in the release against the kURL installer that is currently deployed in the customer's environment. For more information about theyamlCompareanalyzer, seeyamlComparein the open source Troubleshoot documentation.apiVersion: troubleshoot.sh/v1beta2kind: Preflightmetadata:name: installer-preflight-examplespec:analyzers:- yamlCompare:annotations:kots.io/installer: "true"checkName: Kubernetes Installeroutcomes:- fail:message: The kURL installer for this version differs from what you have installed. It is recommended that you run the updated kURL installer before deploying this version.uri: https://kurl.sh/my-application- pass:message: The kURL installer for this version matches what is currently installed.