Step 7: Update the Application
To deploy and test this updated release, you return to the KOTS Admin Console using a web browser.
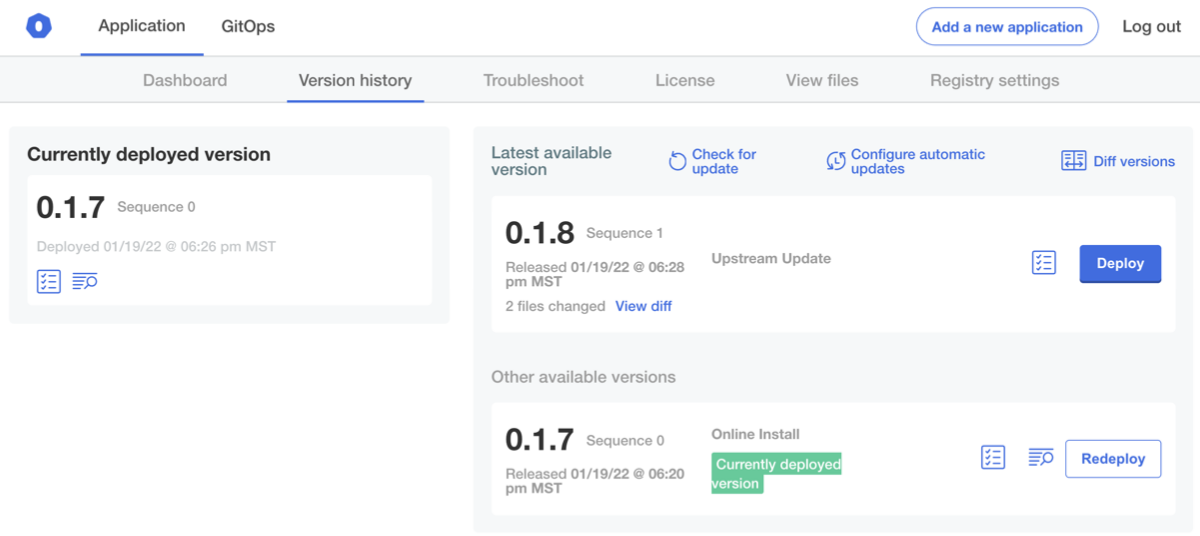
At this point, the Admin Console likely shows that your test application is up-to-date and that no updates are available. The Admin Console checks for new updates approximately every four hours, but for now, you will trigger a check manually.
To update the application:
-
Log in to the Admin Console at
https://localhost:8800for an existing cluster orhttp://[ip-address]:8800for an embedded cluster. -
On the Version history tab, click Check for update. You should see a new release in the history now. You can click Diff versions to review the differences in the YAML files.
-
Click Deploy. In the dialog that opens, click Yes, deploy to deploy the new version. The deployment takes only a few seconds.
-
On the Config tab, look for the Another Text Example field that you added is displayed.
-
In the new Another Text Example field, enter any text. Click Save config.
The Admin Console notifies you that the configuration settings for the application have changed.
-
In the dialog, click Go to updated version.
The updated version is loaded on the Version history page.
-
On the Version history page, click Deploy next to the latest version to deploy the configuration change.
-
After the Admin Console deploys the configuration change, go to the Dashboard page and click Open App.
The application displays the text that you added to the field.
noteIf you do not see the new text, refresh your browser.
-
In the vendor portal, return to the Customers > Reporting page. Confirm that you can see the new application version in the Instances pane and then drill down from the details area to see the Instance details page.
Next Steps
Congratulations! As part of this tutorial, you:
- Created and promoted a release for a Kubernetes application using the vendor portal
- Installed the application in a cluster
- Edited the manifest files for the application:
- Added a preflight check
- Added a new configuration field and used template functions to reference the field
- Promoted a new release with your changes
- Used the Admin Console to update the application to the latest version
As a next step you can:
-
Learn how to use the CLI to perform these steps and manage your release YAML in a git repository. See the CLI Tutorial.
-
Continue to iterate on your sample application by integrating other KOTS features. See Onboarding with KOTS.
-
Make more customizations to the fields that appear on the Config page in the Admin Console screen. This screen is used to collect the configuration that your application needs from the customer. Values are available to your app as text templates or input values to Helm Charts.