Step 2: Create a Release
Now that you have created an application object that contains example YAML manifest files, you can create a release and promote it to the Unstable channel.
By default, the Vendor Portal includes Unstable, Beta, and Stable release channels. The Unstable channel is intended for software vendors to use for internal testing, before promoting a release to the Beta or Stable channels for distribution to customers. For more information about channels, see About Channels and Releases.
To create a release:
-
Click Releases from the left menu, and click Create a release.
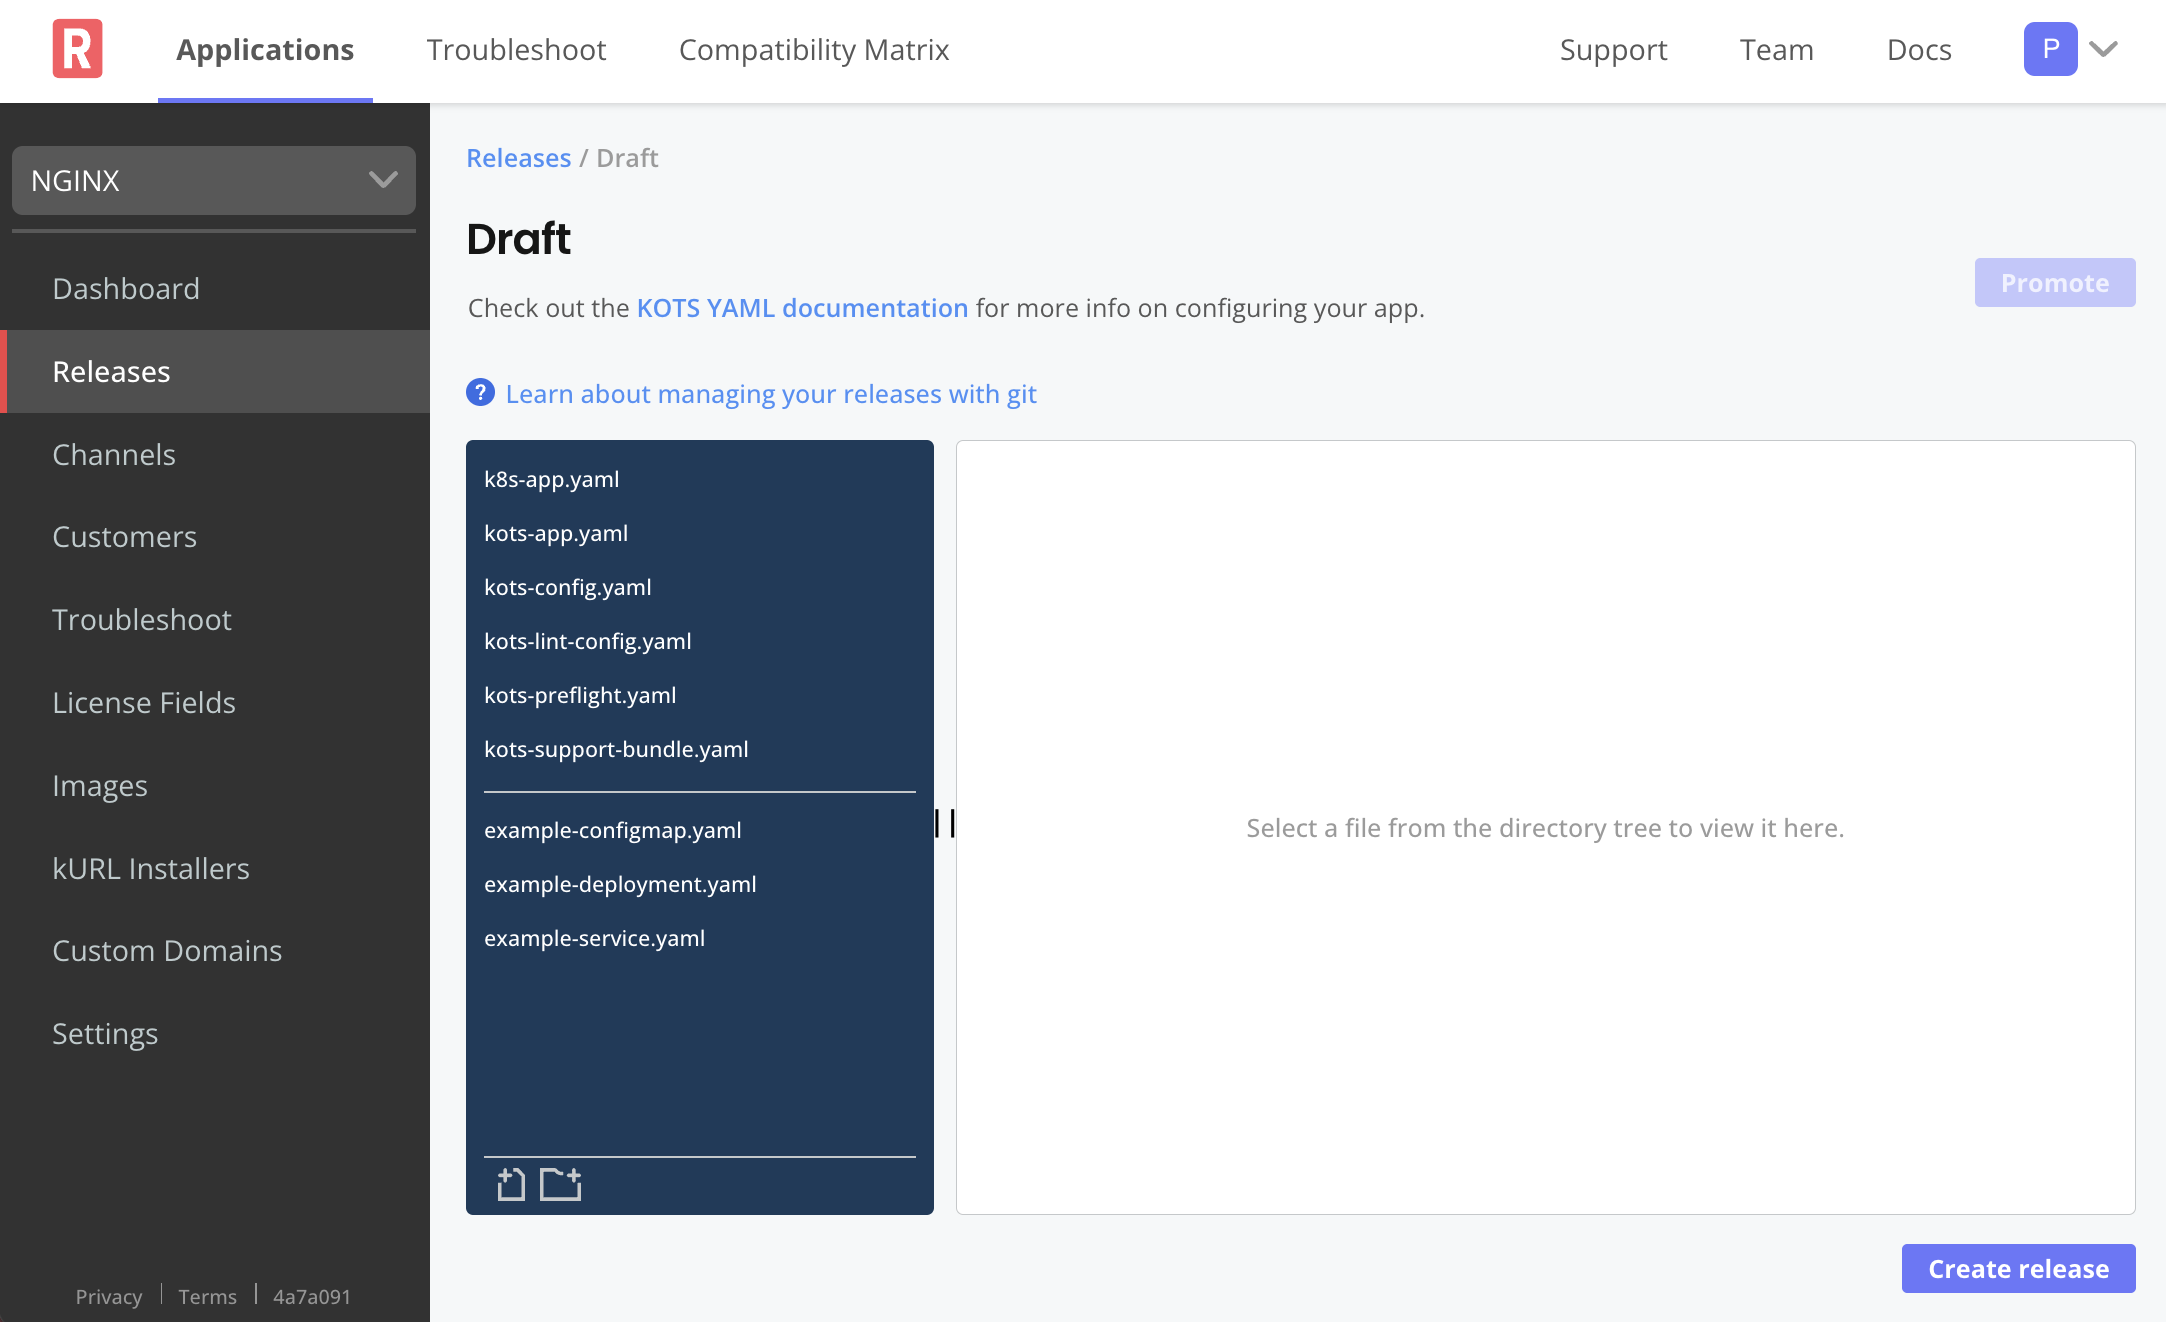
A YAML editor opens, where you can manage your application files.
The default YAML manifest files above the white line contain information for KOTS, preflight checks, customer configuration screen options, and support bundle analyzers for troubleshooting installations. Most of these files are Replicated custom resource files. For more information about custom resources, see the About Custom Resources.
The files below the white line are the sample NGINX application files.
-
In the
kots-preflights.yamlfile, copy and paste the following YAML underneath thenodeResourcesfield. This YAML creates a secondnodeResourcesfield that checks for the number of nodes in the cluster, and triggers a warning during the deployment if the number of nodes does not meet the requirement:- nodeResources:
checkName: Must have at least 3 nodes in the cluster
outcomes:
- warn:
when: "count() < 3"
message: This application requires at least 3 nodes
- pass:
message: This cluster has enough nodes.Your entire Preflight YAML file should look like this:
apiVersion: troubleshoot.sh/v1beta2
kind: Preflight
metadata:
name: preflight-checks
spec:
analyzers:
- clusterVersion:
outcomes:
- fail:
when: "< 1.20.0"
message: The application requires Kubernetes 1.20.0 or later, and recommends 1.21.0 or later.
uri: https://www.kubernetes.io
- warn:
when: "< 1.21.0"
message: Your cluster meets the minimum version of Kubernetes, but we recommend you update to 1.21.0 or later.
uri: https://kubernetes.io
- pass:
message: Your cluster meets the recommended and required versions of Kubernetes.
- containerRuntime:
outcomes:
- pass:
when: "== containerd"
message: containerd container runtime was found.
- fail:
message: Did not find containerd container runtime.
- distribution:
outcomes:
- fail:
when: "== docker-desktop"
message: The application does not support Docker Desktop clusters.
- fail:
when: "== microk8s"
message: The application does not support MicroK8s clusters.
- fail:
when: "== minikube"
message: The application does not support minikube clusters.
- pass:
when: "== eks"
message: EKS is a supported distribution.
- pass:
when: "== gke"
message: GKE is a supported distribution.
- pass:
when: "== aks"
message: AKS is a supported distribution.
- pass:
when: "== kurl"
message: kURL is a supported distribution.
- pass:
when: "== digitalocean"
message: DigitalOcean is a supported distribution.
- warn:
message: Unable to determine the distribution of Kubernetes.
- nodeResources:
checkName: Total CPU Cores
outcomes:
- fail:
when: "sum(cpuCapacity) < 2"
message: The cluster must contain at least 2 cores, and should contain at least 4 cores.
- warn:
when: "sum(cpuCapacity) < 4"
message: The cluster should contain at least 4 cores.
- pass:
message: There are at least 4 cores in the cluster.
- nodeResources:
   checkName: Must have at least 3 nodes in the cluster
   outcomes:
     - warn:
         when: "count() < 3"
         message: This application requires at least 3 nodes
     - pass:
message: This cluster has enough nodes.Preflight checks are designed to help ensure that the environment meets the minimum system and software requirements to run the application. Software vendors define preflight checks in the Preflight custom resource. For more information, see Preflight and Support Bundle.
-
Check the linter messages in the Help pane. If there are no errors, a message displays letting you know that everything looks good. If there are errors, information about the errors displays with a link to the reference documentation. For more information about the linter, see Linter Rules.
-
Click Save release.
-
Click Promote.
In the Promote Release dialog that opens, select the Unstable channel and click Promote. Promoting a release makes it available for installation.

Next Step
Continue to Step 3: Create a Customer to create a customer license file that you will upload when installing the application.