Step 5: Install the Release on a VM
Next, get the customer-specific Embedded Cluster installation commands and then install the release on a Linux VM.
To install the release with Embedded Cluster:
-
In the Vendor Portal, go to Customers. Click on the name of the customer you created.
-
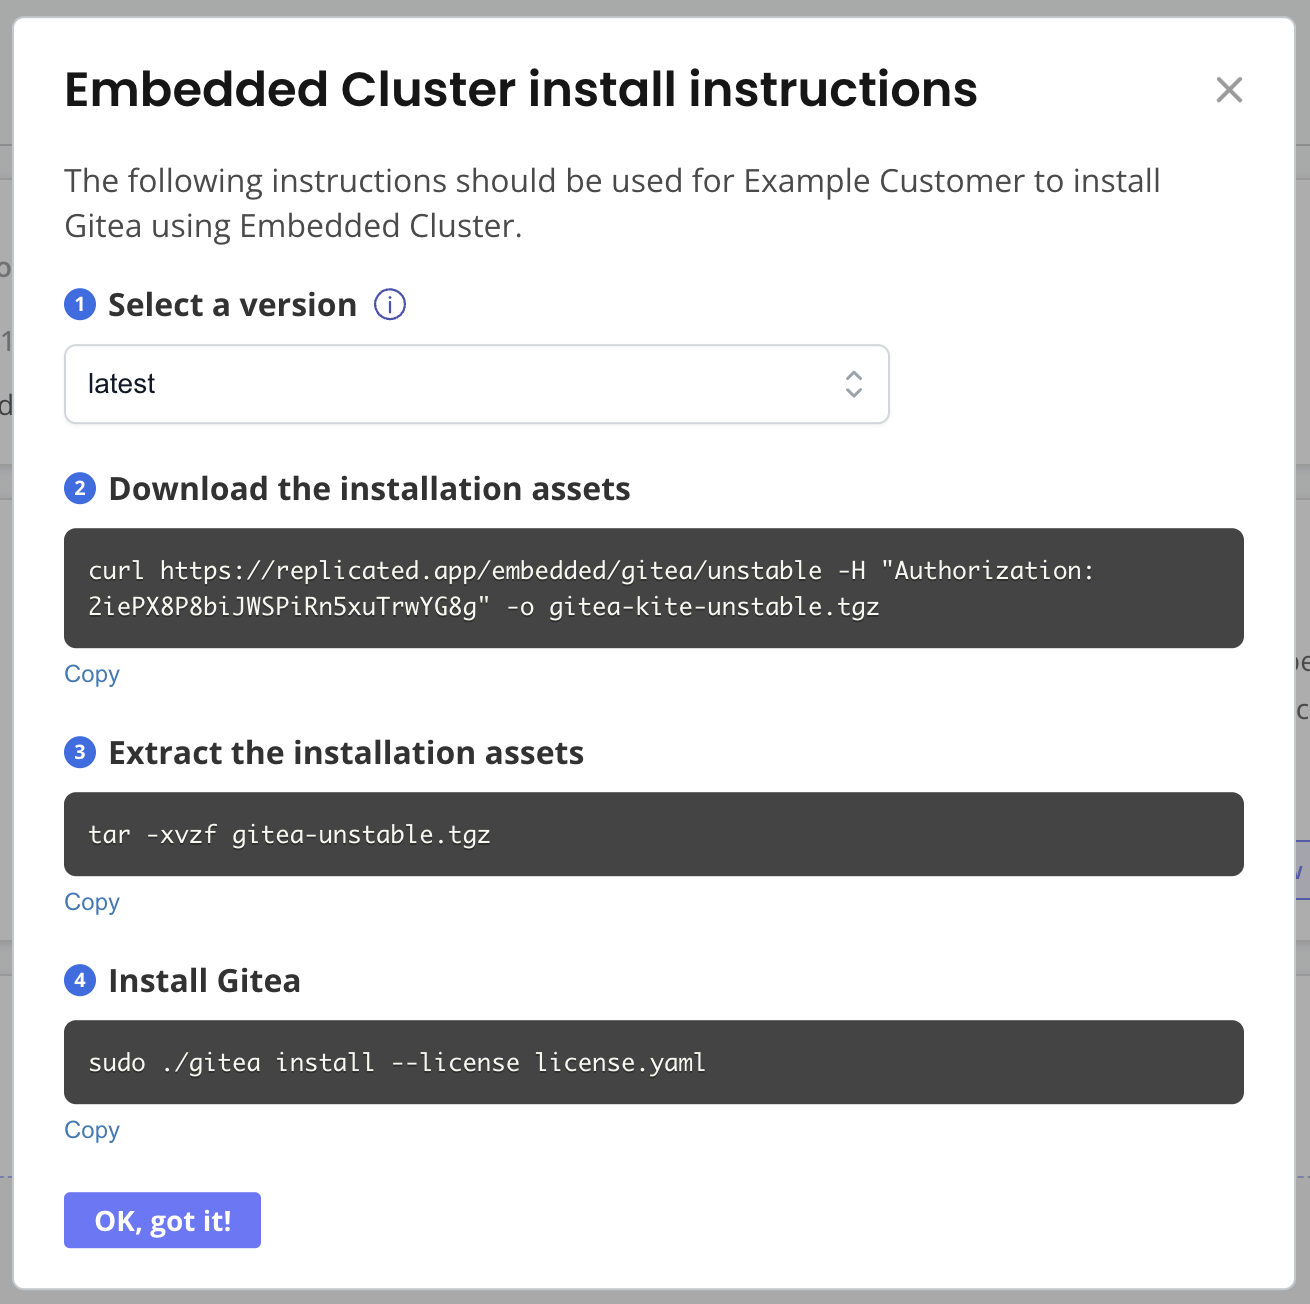
Click Install instructions > Embedded cluster.

View a larger version of this image
The Embedded cluster install instructions dialog opens.
-
On the command line, SSH onto your Linux VM.
-
Run the first command in the Embedded cluster install instructions dialog to download the latest release.
-
Run the second command to extract the release.
-
Run the third command to install the release.
-
When prompted, enter a password for accessing the KOTS Admin Console.
The installation command takes a few minutes to complete.
-
When the installation command completes, go to the URL provided in the output to log in to the Admin Console.
Example output:
✔  Host files materialized
? Enter an Admin Console password: ********
? Confirm password: ********
✔  Node installation finished
✔  Storage is ready!
✔  Embedded Cluster Operator is ready!
✔  Admin Console is ready!
✔  Finished!
Visit the admin console to configure and install gitea-kite: http://104.155.145.60:30000
At this point, the cluster is provisioned and the KOTS Admin Console is deployed, but the application is not yet installed.
-
Bypass the browser TLS warning by clicking Continue to Setup.
-
Click Advanced > Proceed.
-
On the HTTPS for the Gitea Admin Console page, select Self-signed and click Continue.
-
On the login page, enter the Admin Console password that you created during installation and click Log in.
-
On the Nodes page, you can view details about the VM where you installed, including its node role, status, CPU, and memory. Users can also optionally add additional nodes on this page before deploying the application. Click Continue.
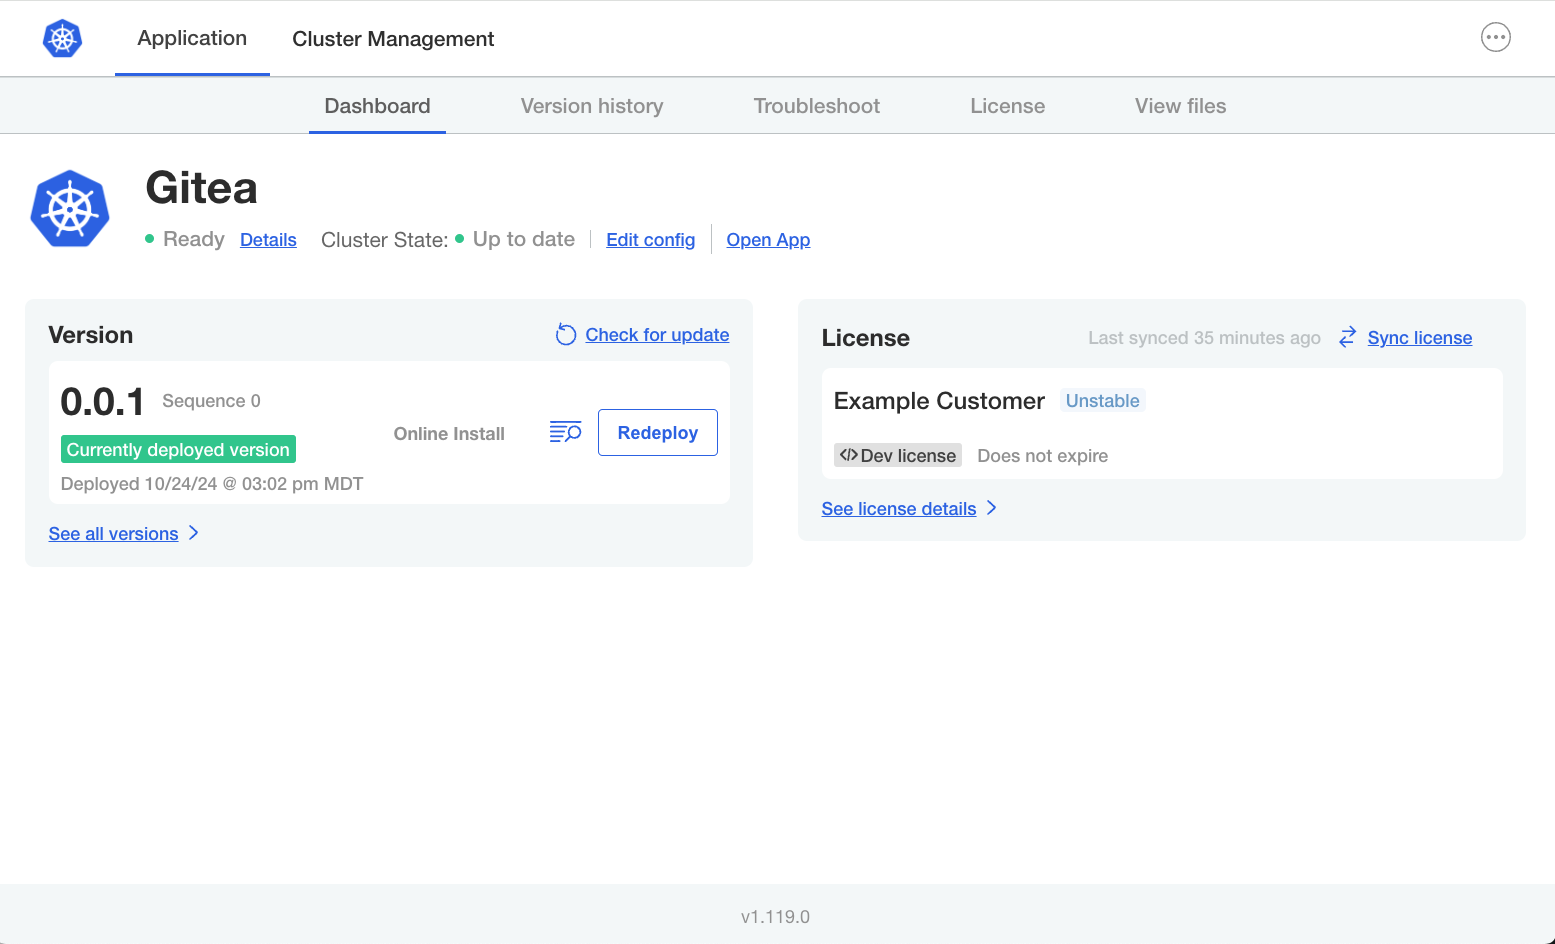
The Admin Console dashboard opens.
-
In the Version section, for version
0.1.0, click Deploy then Yes, Deploy.The application status changes from Missing to Unavailable while the
giteaDeployment is being created. -
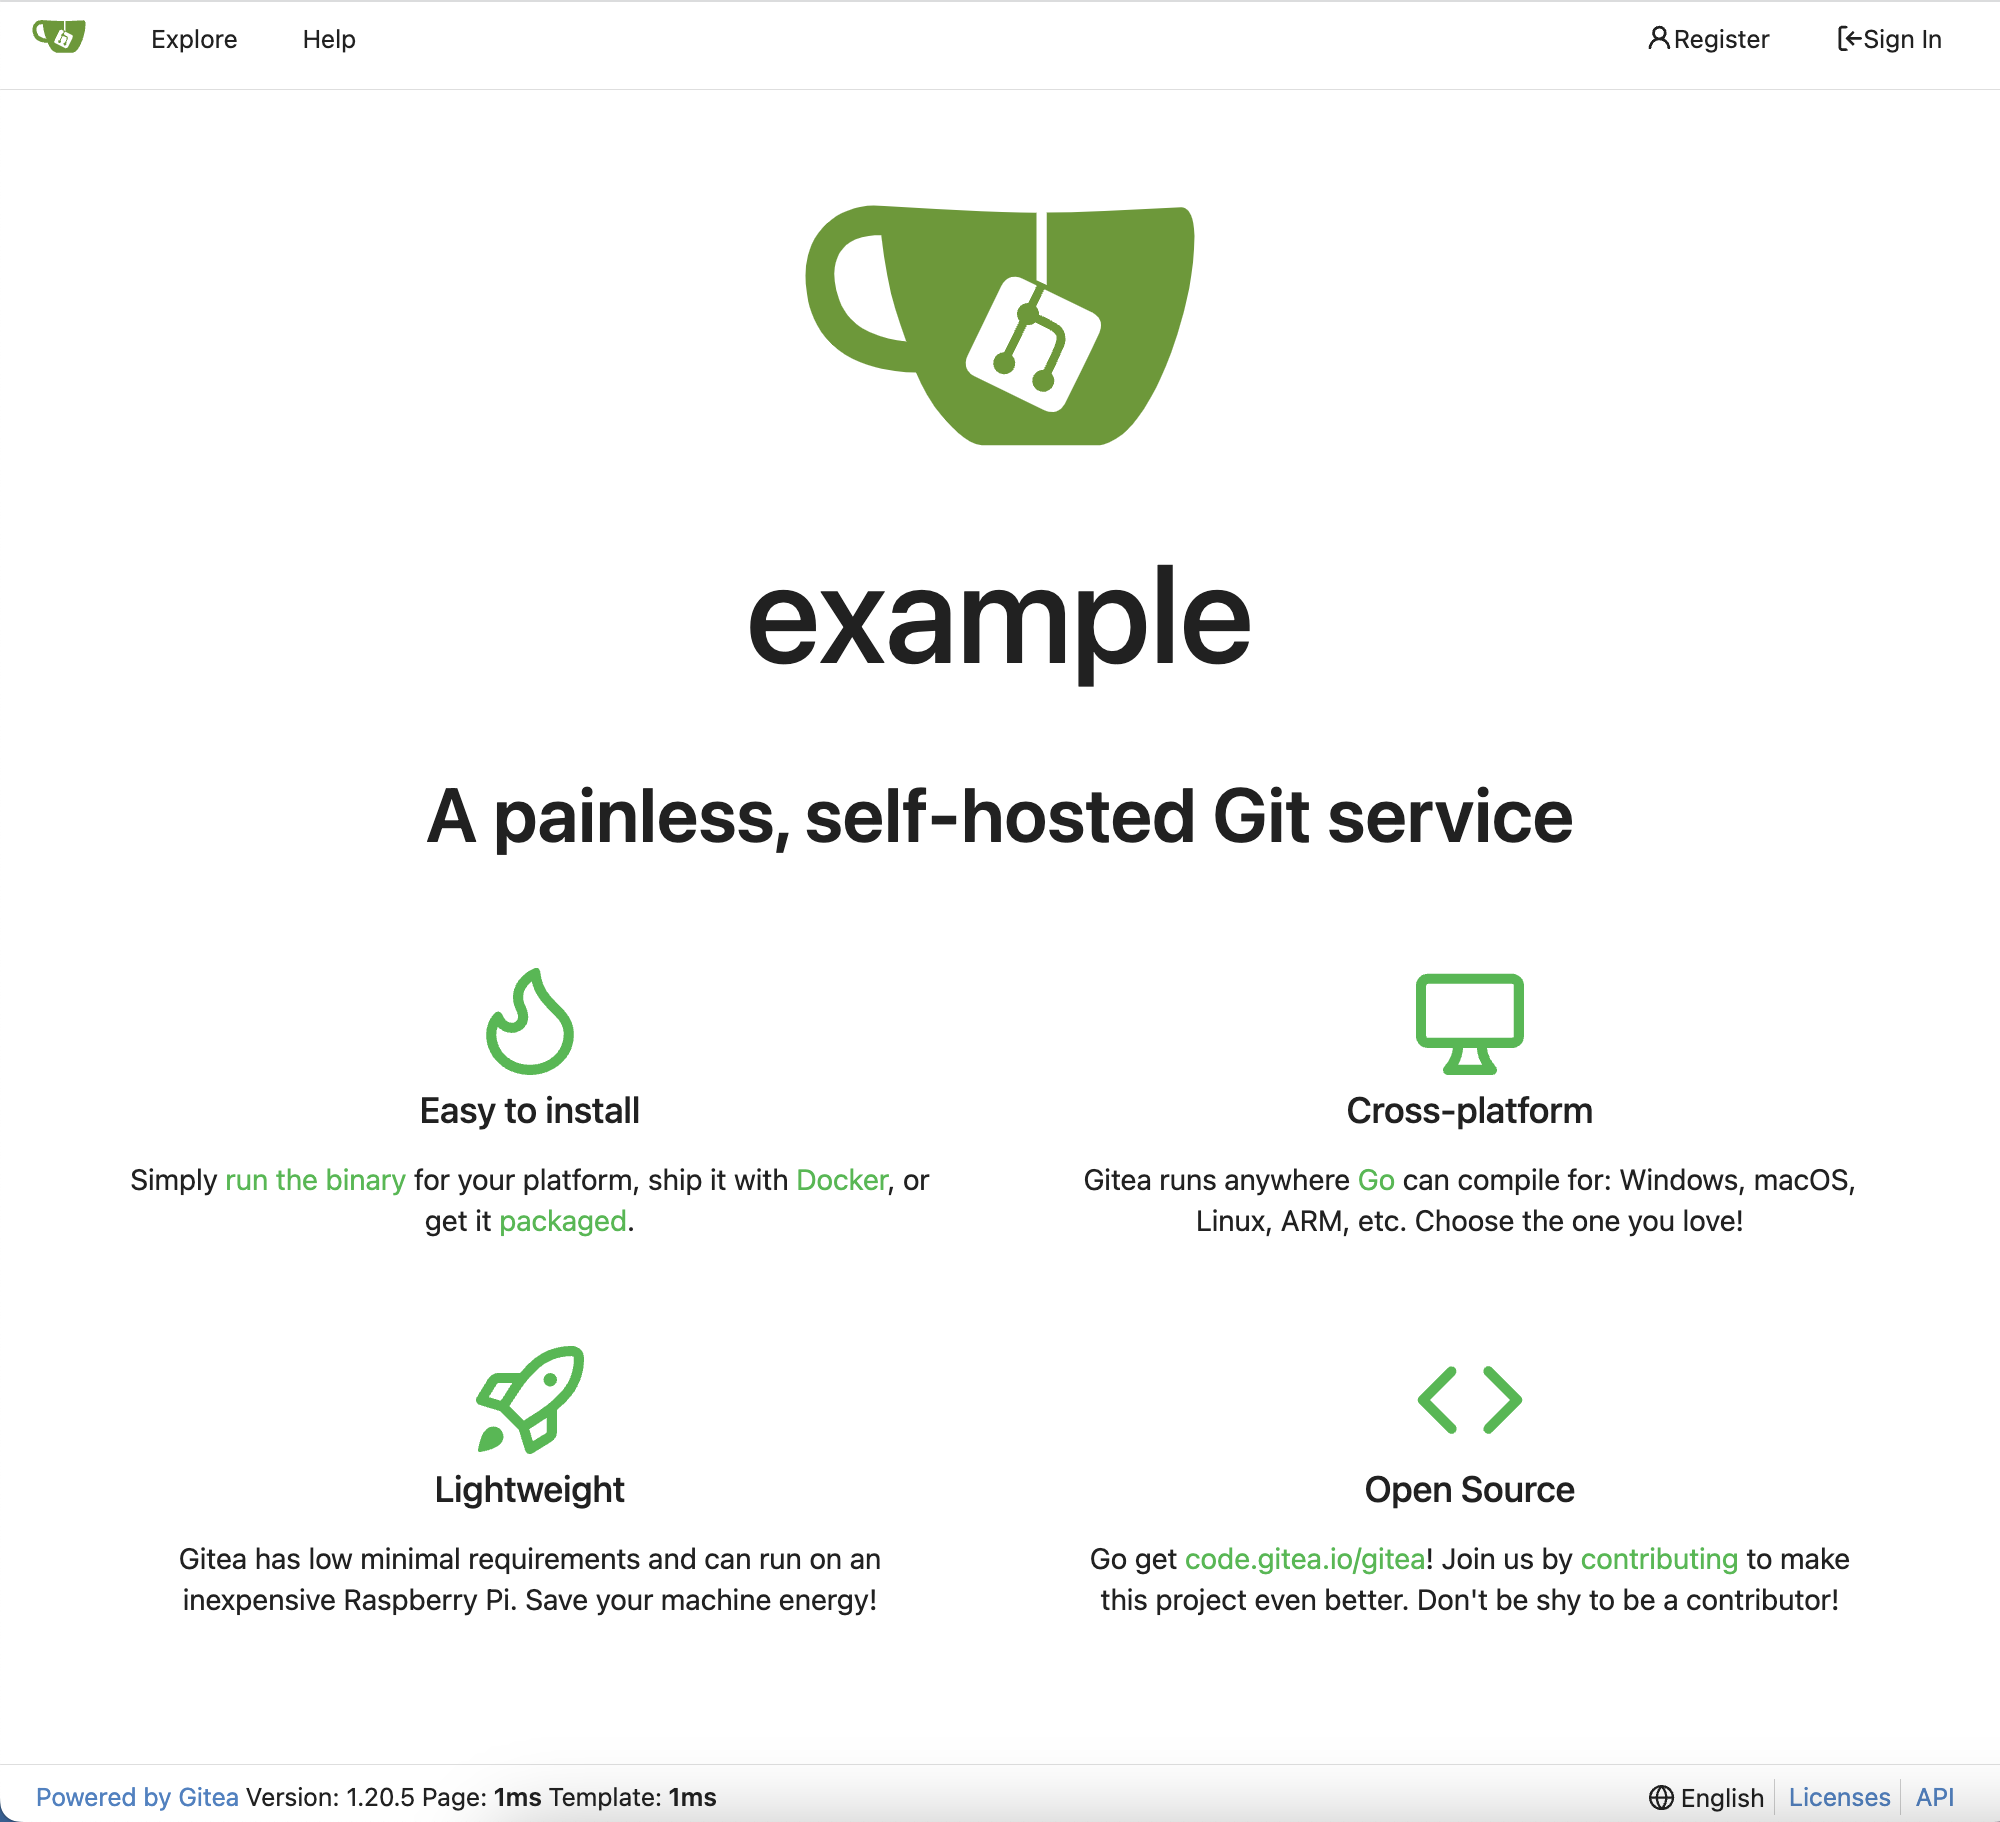
After a few minutes when the application status is Ready, click Open App to view the Gitea application in a browser:
View a larger version of this image
-
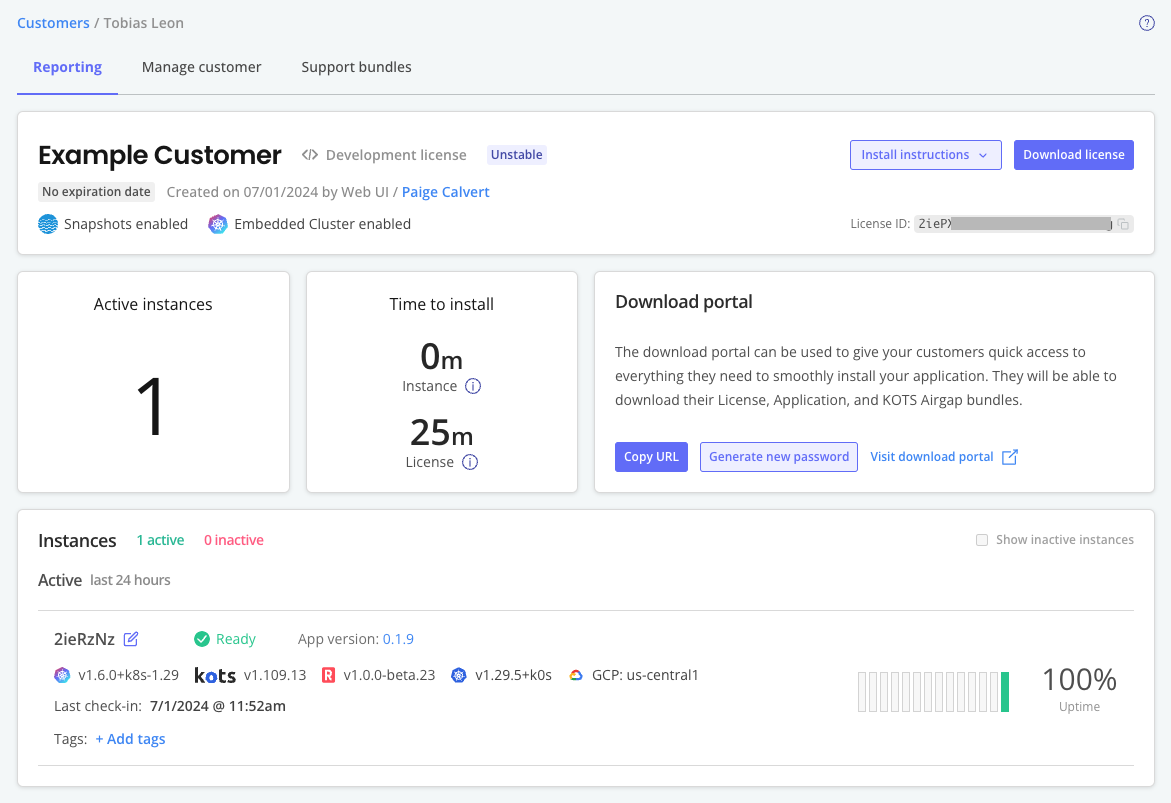
In another browser window, open the Vendor Portal and go to Customers. Select the customer that you created.
On the Reporting page for the customer, you can see details about the customer's license and installed instances:
-
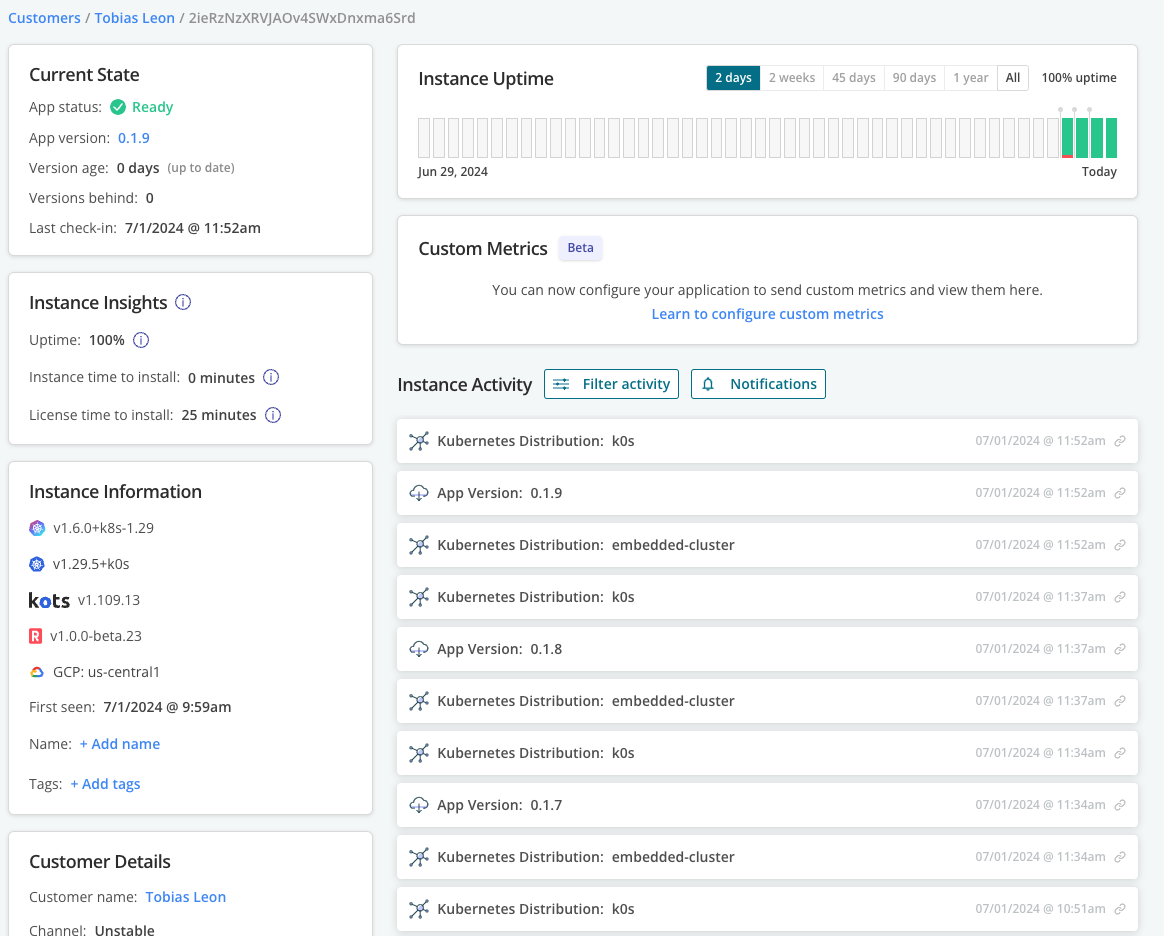
On the Reporting page, under Instances, click on the instance that you just installed to open the instance details page.
On the instance details page, you can see additional insights such as the version of Embedded Cluster that is running, instance status and uptime, and more:
-
(Optional) Reset the node to remove the cluster and the application from the node. This is useful for iteration and development so that you can reset a machine and reuse it instead of having to procure another machine.
sudo ./APP_SLUG reset --rebootWhere
APP_SLUGis the unique slug for the application that you created. You can find the appication slug by runningreplicated app lson the command line on your local machine.
Summary
Congratulations! As part of this tutorial, you created a release in the Replicated Vendor Portal and installed the release with Replicated Embedded Cluster in a VM. To learn more about Embedded Cluster, see Embedded Cluster Overview.