Configure instance notifications (classic)
Event Notifications replaces Instance Notifications (Classic), offering more event types, better filtering, and improved delivery options. While Instance Notifications (Classic) is still supported, Replicated recommends using Event Notifications. For more information about how to configure event notifications, see About Event Notifications.
Notifications can help catch problems before they happen and let you proactively contact customers to prevent support cases. For example, you can be notified of a degraded status and you can contact your customer about fixing it before the instance goes down. This approach can make issues quicker and easier to solve, and improve the customer experience with less down time.
For more information about how application status is determined, see Resource Statuses in Enabling and Understanding Application Status. For more information about events that might trigger notifications, see How the Vendor Portal Generates Events and Insights in About Instance and Event Data.
This topic describes how to configure Slack or email notifications in the Replicted Vendor Portal for instances of your application.
For information about creating and managing instance notifications with the Vendor API v3, see the notifications section in the Vendor API v3 documentation.
Overview
Teams can receive notifications about customer instances through a Slack channel. Individual users can also receive email notifications.
Instance notifications can be disabled when they are no longer needed. For example, a team member can turn off their email notifications for a customer instance when they are no longer responsible for supporting that customer.
Prerequisite
For Slack notifications, you must configure a Slack webhook in the Vendor Portal at the Team level before you can turn on instance notifications. For more information, see Configuring a Slack Webhook.
For email notification, no prior configuration is required. The email address listed in your Vendor Portal account settings is used.
Configure notifications
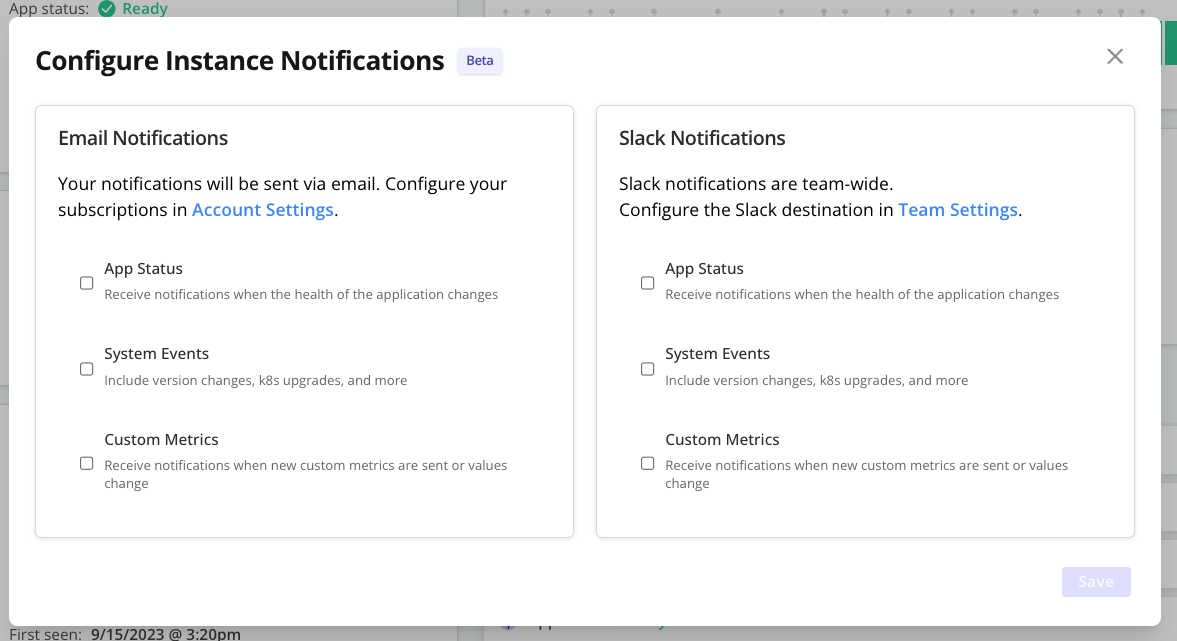
Follow this procedure to configure Slack or email notifications for application instances. You can enable notifications for application status changes, system events such as Kubernetes upgrades, or changes in the values of any custom metrics configured for the application.
To configure notifications:
-
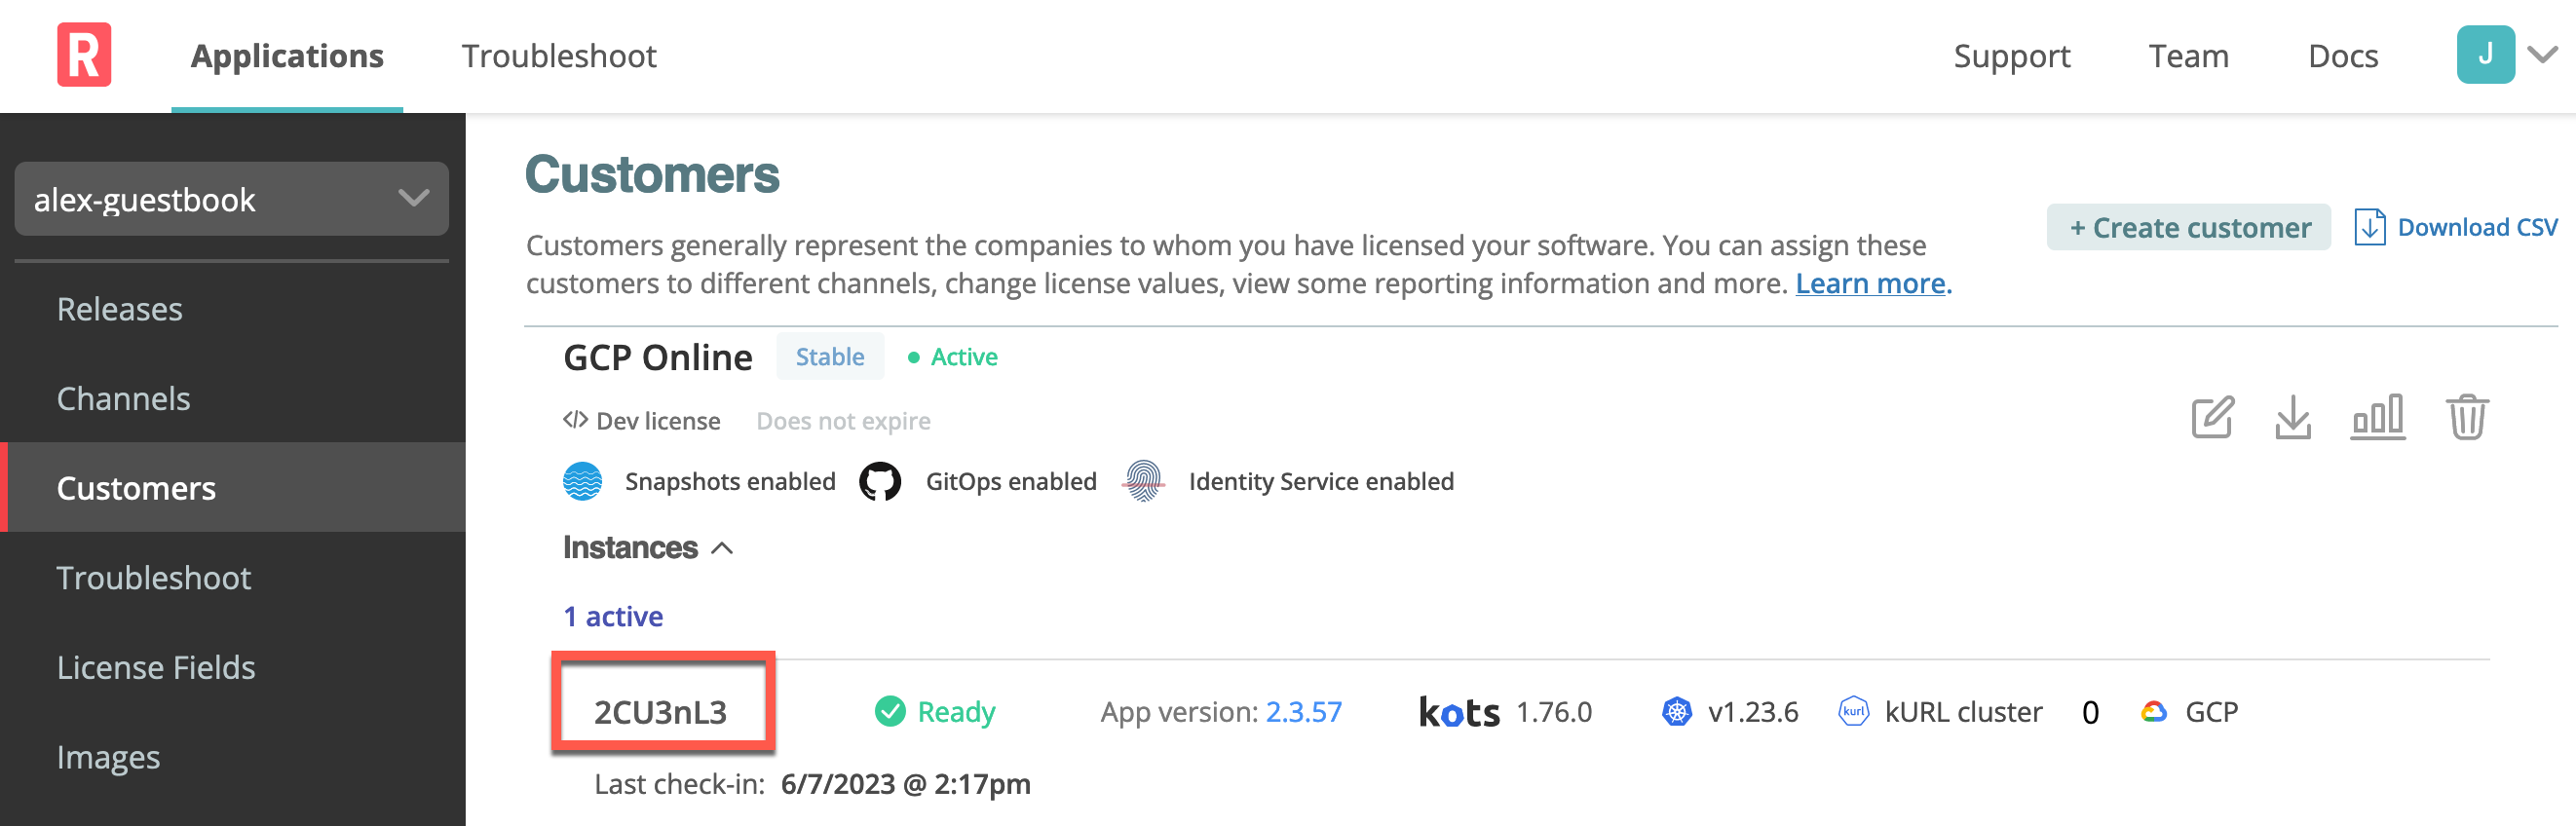
Go to Applications > Customers, and click an active customer instance that you want to receive notifications for.
-
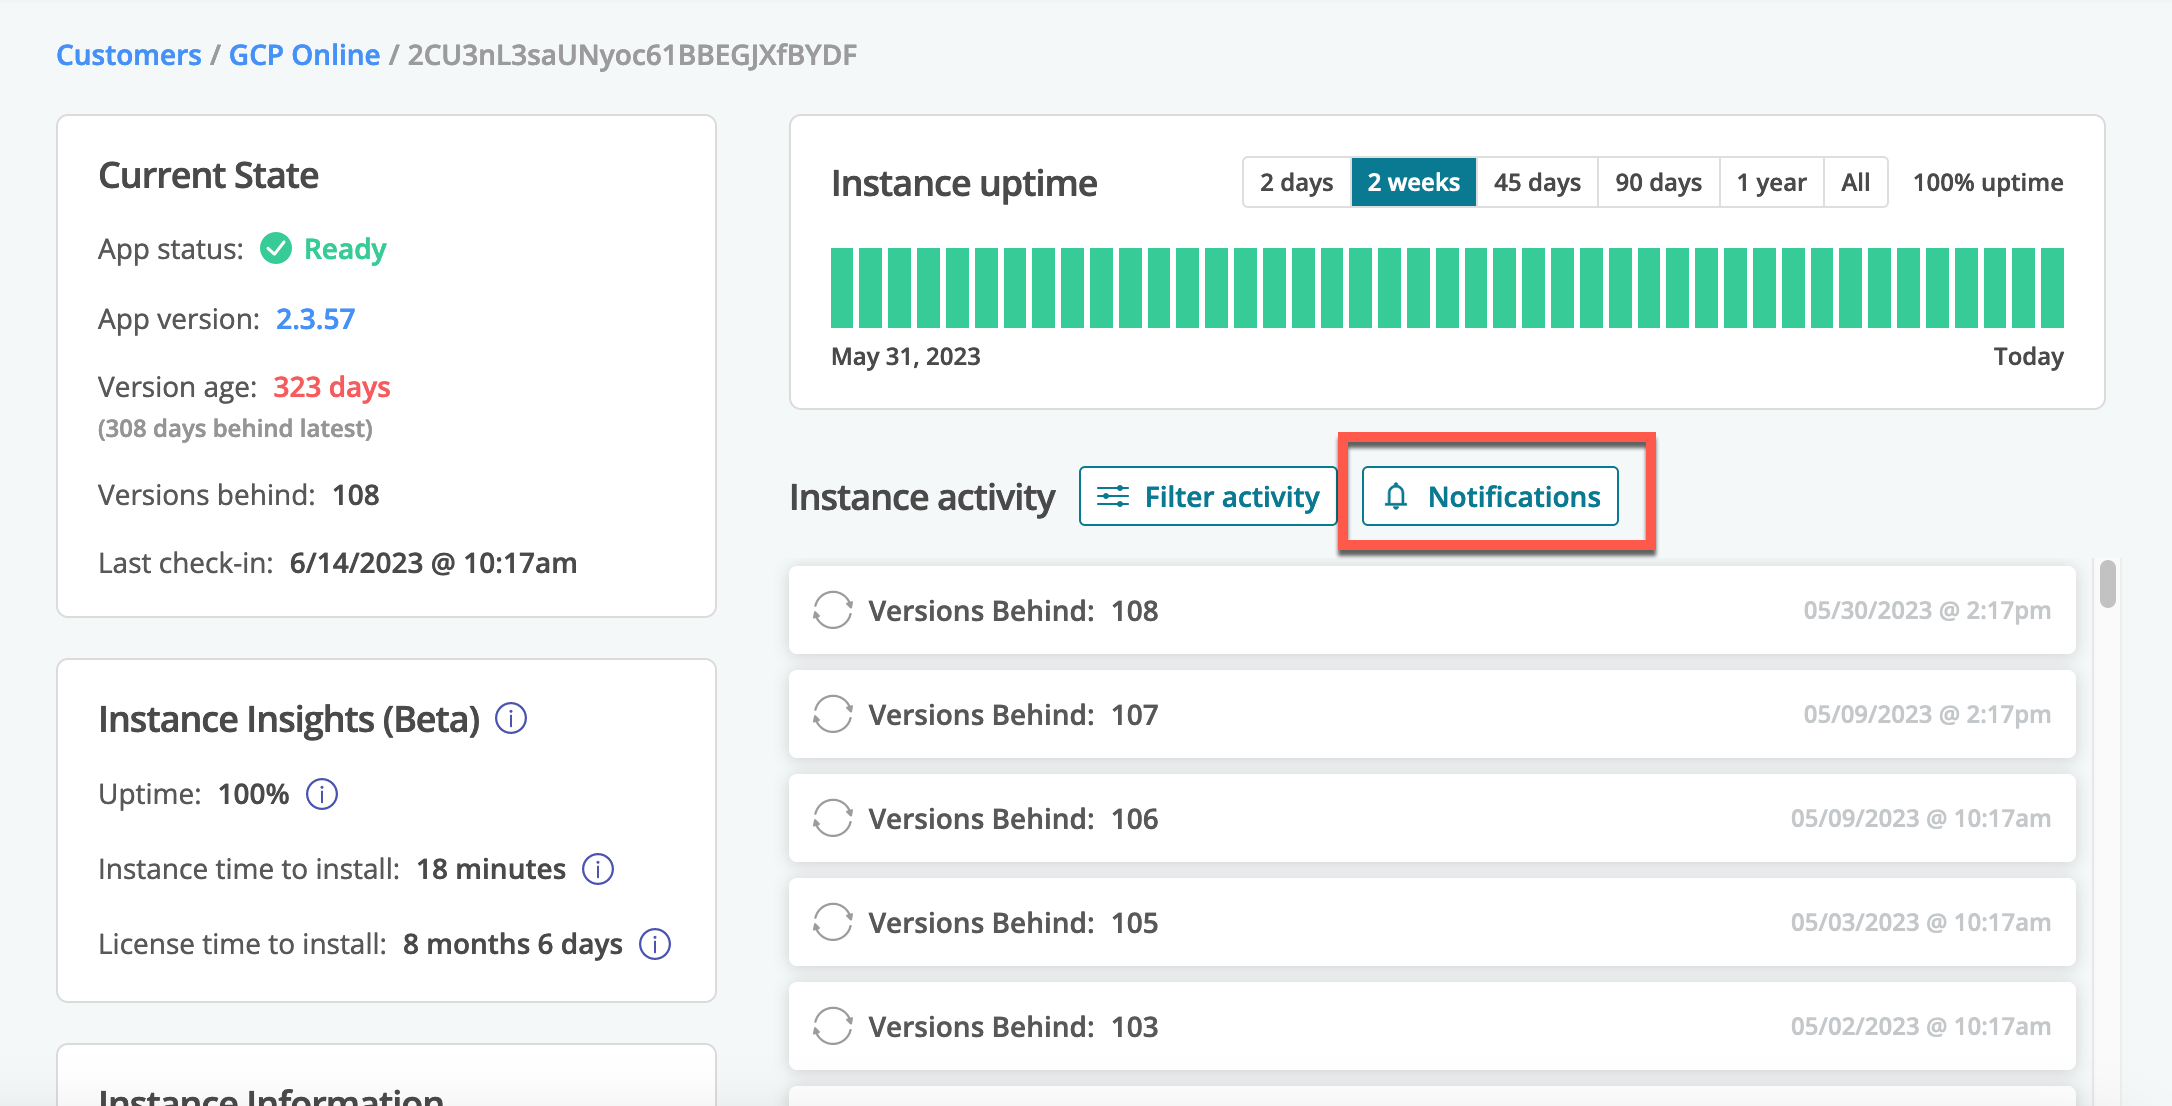
On the Instance Details page, click Notifications.
-
From the Configure Instance Notifications dialog, select the types of notifications to enable.
-
Click Save.
-
Repeat these steps to configure notifications for other application instances.
Test notifications
After you enable notifications for a running development instance, test that your notifications are working as expected.
Do this by forcing your application into a non-ready state. For example, you can delete one or more application Pods and wait for a ReplicationController to recreate them.
Then, look for notifications in the assigned Slack channel. You also receive an email if you enabled email notifications.
There is a 30-second buffer between event detection and notifications being sent. This buffer provides better roll-ups and reduces noise.
See also
- Event Notifications - New notification system with more event types and better filtering
- Create Event Notification Subscriptions - Get started with Event Notifications
- Comparison: Classic vs. Event Notifications - Feature comparison