Use the proxy registry with Helm CLI installations
This topic describes how to configure your application to use the Replicated proxy registry with Helm CLI installations. For more information about the proxy registry, see About the Replicated Proxy Registry. For more information about installing applications distributed with Replicated using Helm, see About Helm Installations with Replicated.
Overview
During Helm CLI installations with Replicated, after customers provide their unique license ID, a global.replicated.dockerconfigjson field that contains a base64 encoded Docker configuration file is automatically injected in the Helm chart values. For more information about how Kubernetes uses the kubernetes.io/dockerconfigjson Secret type to provide authentication for a private registry, see Pull an Image from a Private Registry in the Kubernetes documentation.
The Replicated SDK automatically uses this value to create an image pull secret named enterprise-pull-secret. You can configure your Helm chart to use enterprise-pull-secret to authenticate with the Replicated proxy registry so that your application images can be proxied.
The image used by the Replicated SDK is automatically proxied through the proxy registry. No additional configuration is required.
Prerequisite
Include the Replicated SDK version 1.15.0 or later as a dependency of your Helm chart. See Install the SDK as a Subchart in Install the Replicated SDK.
If you want to create your own pull secret instead of using the enterprise-pull-secret created by the SDK (such as if you manage the pull secret externally), see (Optional) Create Your Own Pull Secret on this page.
Configure your application to use the proxy registry
To configure your application to use the proxy registry with Helm CLI installations:
-
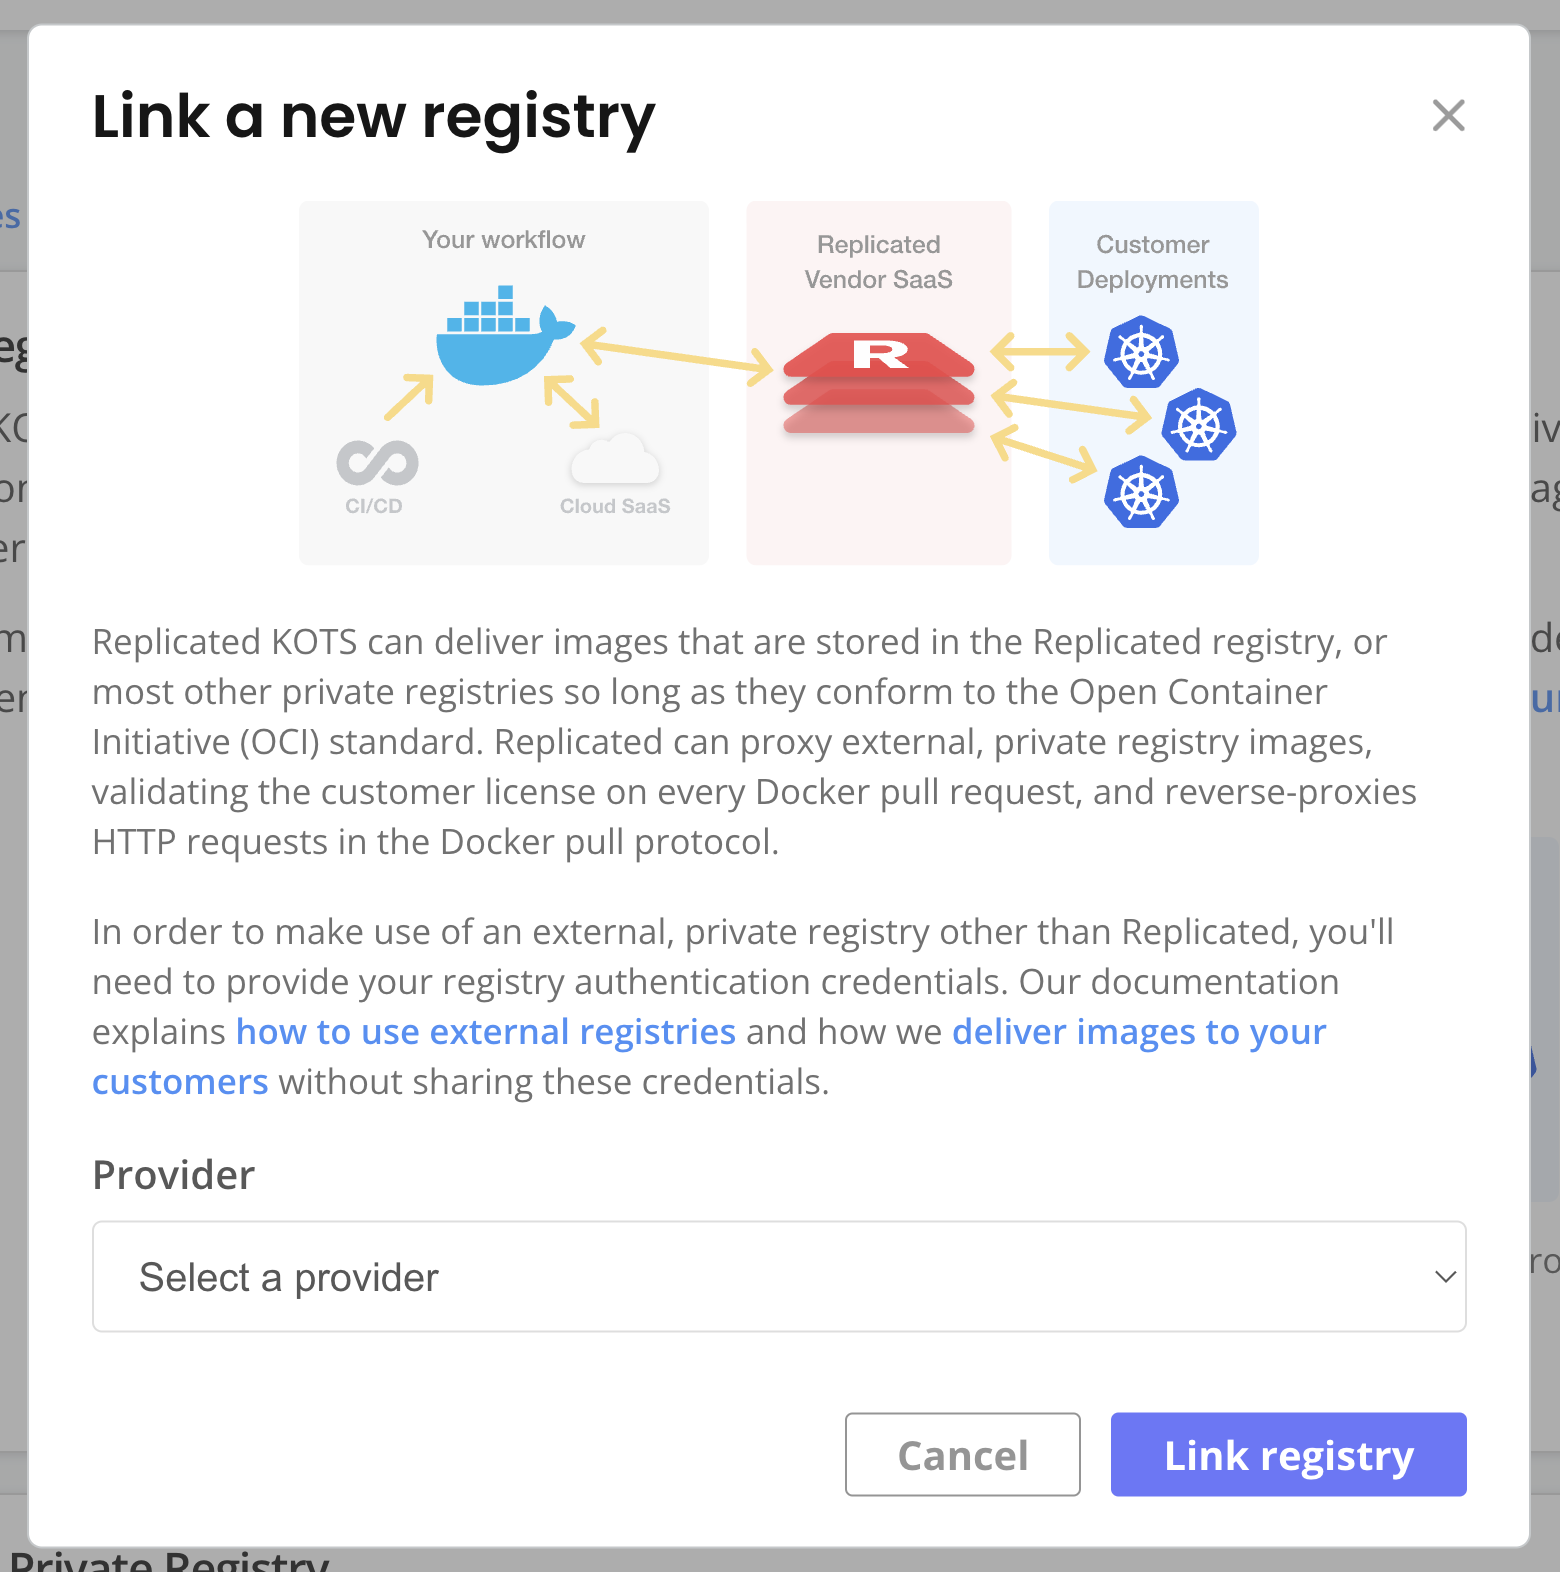
In the Vendor Portal, go to Images > Add external registry and provide read-only credentials for your registry. This allows Replicated to access the images through the proxy registry. See Add Credentials for an External Registry in Connecting to an External Registry.
-
(Recommended) Go to Custom Domains > Add custom domain and add a custom domain for the proxy registry. See Use Custom Domains.
-
For each Helm chart used by your application, in the Helm chart's
values.yamlfile, update the registry for any private or third-party images to use the Replicated proxy registry URL.The proxy registry URL has the following format:
DOMAIN/proxy/APP_SLUG/UPSTREAM_REGISTRY/IMAGE_PATHWhere:
DOMAINis eitherproxy.replicated.comor your custom domainAPP_SLUGis the unique slug of your applicationUPSTREAM_REGISTRY/IMAGE_PATHis the full upstream image path. For example,ghcr.io/my-org/my-imageordocker.io/bitnami/postgresql.
The following examples demonstrate how to rewrite the registry depending on if you use separate values for the registry and repository or a single value for the full image name:
Example (Separate values for image registry and repository)
# Current values.yamlpostgresql:image:registry: docker.iorepository: bitnami/postgresql# New values.yamlpostgresql:image:# proxy.replicated.com or your custom domainregistry: proxy.replicated.com/proxy/app-slug/docker.iorepository: bitnami/postgresqlExample (Single value for full image name)
# Current values.yamlinitImage: docker.io/library/busybox:1.36# New values.yaml# proxy.replicated.com or your custom domaininitImage: proxy.replicated.com/proxy/app-slug/docker.io/library/busybox:1.36noteBitnami charts may display the error "Original containers have been substituted for unrecognized ones" when images are pulled from the Replicated proxy registry instead of the default Bitnami registry. To resolve this, set
global.security.allowInsecureImages=truein your Helm values. Despite the name, this flag permits images from non-Bitnami registries. Your images are still pulled over HTTPS with authentication. -
In your chart
_helper.tpl, add the following Helm helper. This helper creates animagePullSecretsvalue that lists both the Replicatedenterprise-pull-secretas well as any global or chart-level pull secrets provided by your customers. Using this helper supports use cases where customers need to provide one or more pull secrets in addition to theenterprise-pull-secret, such as in air gap installations where images are pushed to a private regitsry in the air-gapped environment.{{/*Image pull secrets*/}}{{- define "replicated.imagePullSecrets" -}}{{- $pullSecrets := list }}{{- with ((.Values.global).imagePullSecrets) -}}{{- range . -}}{{- if kindIs "map" . -}}{{- $pullSecrets = append $pullSecrets .name -}}{{- else -}}{{- $pullSecrets = append $pullSecrets . -}}{{- end }}{{- end -}}{{- end -}}{{/* use image pull secrets provided as values */}}{{- with .Values.images -}}{{- range .pullSecrets -}}{{- if kindIs "map" . -}}{{- $pullSecrets = append $pullSecrets .name -}}{{- else -}}{{- $pullSecrets = append $pullSecrets . -}}{{- end -}}{{- end -}}{{- end -}}{{/* use the pull secret created by the SDK */}}{{- if hasKey ((.Values.global).replicated) "dockerconfigjson" }}{{- $pullSecrets = append $pullSecrets "enterprise-pull-secret" -}}{{- end -}}{{- if (not (empty $pullSecrets)) -}}imagePullSecrets:{{- range $pullSecrets | uniq }}- name: {{ . }}{{- end }}{{- end }}{{- end -}} -
Use your helper to include the image pull secrets in any manifests that reference the image.
Example:
apiVersion: v1kind: Podspec:# Add the pull secret with your helper{{- include "replicated.imagePullSecrets" . | nindent 6 }}containers:- name: api# Access the registry, repository, and tag fields from the values fileimage: {{ .Values.images.api.registry }}/{{ .Values.images.api.repository }}:{{ .Values.images.api.tag }} -
If your application is deployed as multiple Helm charts, repeat the previous steps to modify image references and add the pull secret for each of your charts.
-
Package your Helm chart and add it to a release. Promote the release to a development channel. See Managing Releases with Vendor Portal.
-
Install in a development environment to test your changes. See Install with Helm.
(Optional) Create your own image pull secret
You can optionally create your own image pull secret to authenticate with the Replicated proxy registry instead of using the enterprise-pull-secret that is automatically created by the Replicated SDK. You might want to create your own pull secret if you manage the pull secret externally.
To create a pull secret for the proxy registry:
-
In your Helm chart
values.yamlfile, set the Replicated SDK'screatePullSecretvalue tofalse. WhencreatePullSecretis false, the SDK does not automatically create theenterprise-pull-secretduring installation.# Your Helm chart values.yamlreplicated:createPullSecret: false -
In your Helm chart templates, add a YAML file that evaluates if the
global.replicated.dockerconfigjsonvalue is set, and then writes the rendered value into a Secret on the cluster, as shown below.The following example names the Secret
enterprise-pull-secret. If you use a different name, be sure to update any Helm helpers and image references in your chart accordingly. Do not usereplicatedfor the name of the image pull secret because the Replicated SDK automatically creates a Secret namedreplicated. Using the same name causes an error.# templates/enterprise-pull-secret.yaml{{- $global := default dict .Values.global -}}{{- $replicated := default dict (index $global "replicated") -}}{{- if hasKey $replicated "dockerconfigjson" }}apiVersion: v1kind: Secretmetadata:name: enterprise-pull-secrettype: kubernetes.io/dockerconfigjsondata:.dockerconfigjson: {{ .Values.global.replicated.dockerconfigjson }}{{ end }} -
Complete the steps in Configure Your Application to Pull Images Through the Proxy Registry to create and use a Helm helper to add the
enterprise-pull-secretthat you created to image references in your chart.