Step 3: Add the Chart Archive to a Release
Use the Replicated CLI to add the Gitea Helm chart archive to a release in the Replicated vendor platform.
To create a release:
-
Install the Replicated CLI:
brew install replicatedhq/replicated/cliFor more installation options, see Install the Replicated CLI.
-
Authorize the Replicated CLI:
replicated loginIn the browser window that opens, complete the prompts to log in to your vendor account and authorize the CLI.
-
Create an application named
Gitea:replicated app create Gitea -
Get the slug for the application that you created:
replicated app lsExample output:
ID                             NAME            SLUG            SCHEDULER
2WthxUIfGT13RlrsUx9HR7So8bR    Gitea           gitea-boxer     kots
In the example above, the application slug is
gitea-boxer. -
Set the
REPLICATED_APPenvironment variable to the application that you created. This allows you to interact with the application using the Replicated CLI without needing to use the--appflag with every command:Example:
export REPLICATED_APP=gitea-boxer -
Go to the
giteadirectory. -
Create a release with the Gitea chart archive:
replicated release create --chart=gitea-1.0.6.tgzYou are creating a release that will only be installable with the helm CLI.
For more information, see
https://docs.replicated.com/vendor/helm-install#about-helm-installations-with-replicated
• Reading chart from gitea-1.0.6.tgz ✓
• Creating Release ✓
• SEQUENCE: 1 -
Log in to the Vendor Portal and go to Releases.
The release that you created is listed under All releases.
-
Click View YAML to view the files in the release.
-
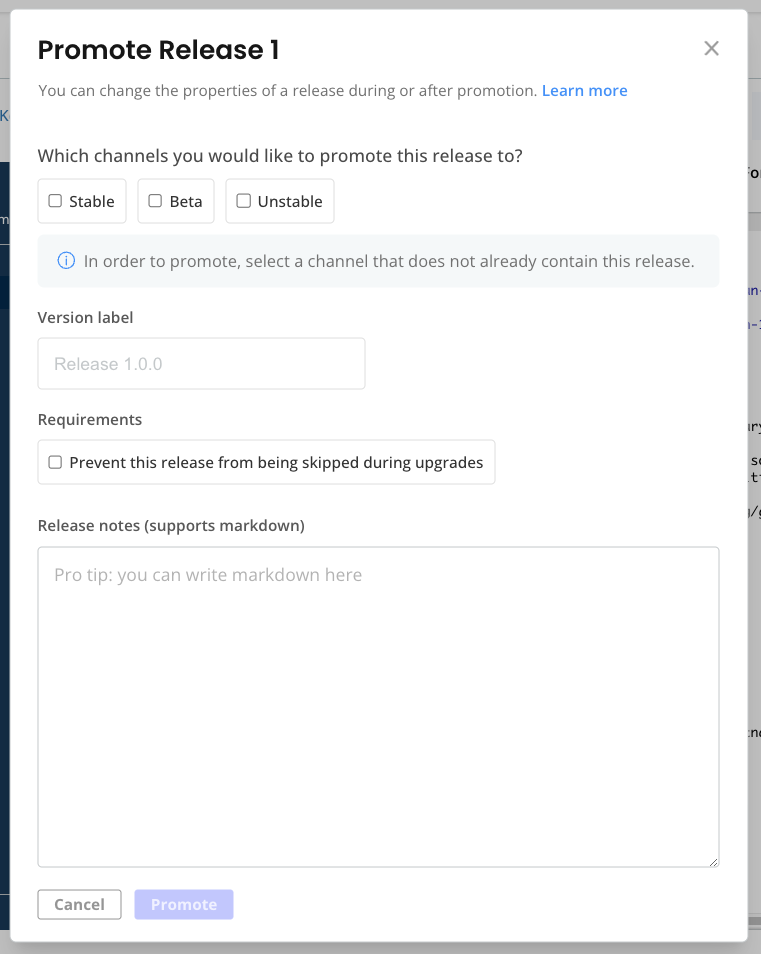
At the top of the page, click Promote.
-
In the dialog, for Which channels you would like to promote this release to?, select Unstable. Unstable is a default channel that is intended for use with internal testing.
-
For Version label, open the dropdown and select 1.0.6.
-
Click Promote.
Next Step
Create a customer so that you can install the release in a development environment. See Create a Customer.